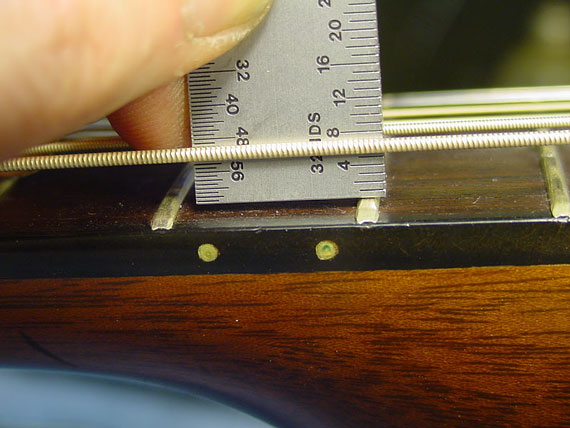
Black Beauty II (I have already dated Black Beauty – read earlier posts) was handed over in my care with the complaint of having an excruciatingly high action. I checked the usual culprits: the relief in the neck and whether the bridge was lifting. The bridge was, thankfully, stuck solid but the relief in the neck left a lot to be desired.
While inspecting the guitar – not a known name – a few things were highlighted. The plastic nut and saddle wouldn’t be doing any good to the sound of the instrument; the shoe-string tie of the guitar strap around the headstock was putting undue stress on the neck – it would have to go; the strings were dead – had been so since long; the hardware was all tarnished and a bit loose; and that the instrument in general was in need of real TLC (Bring out that vacuum cleaner, somebody)!


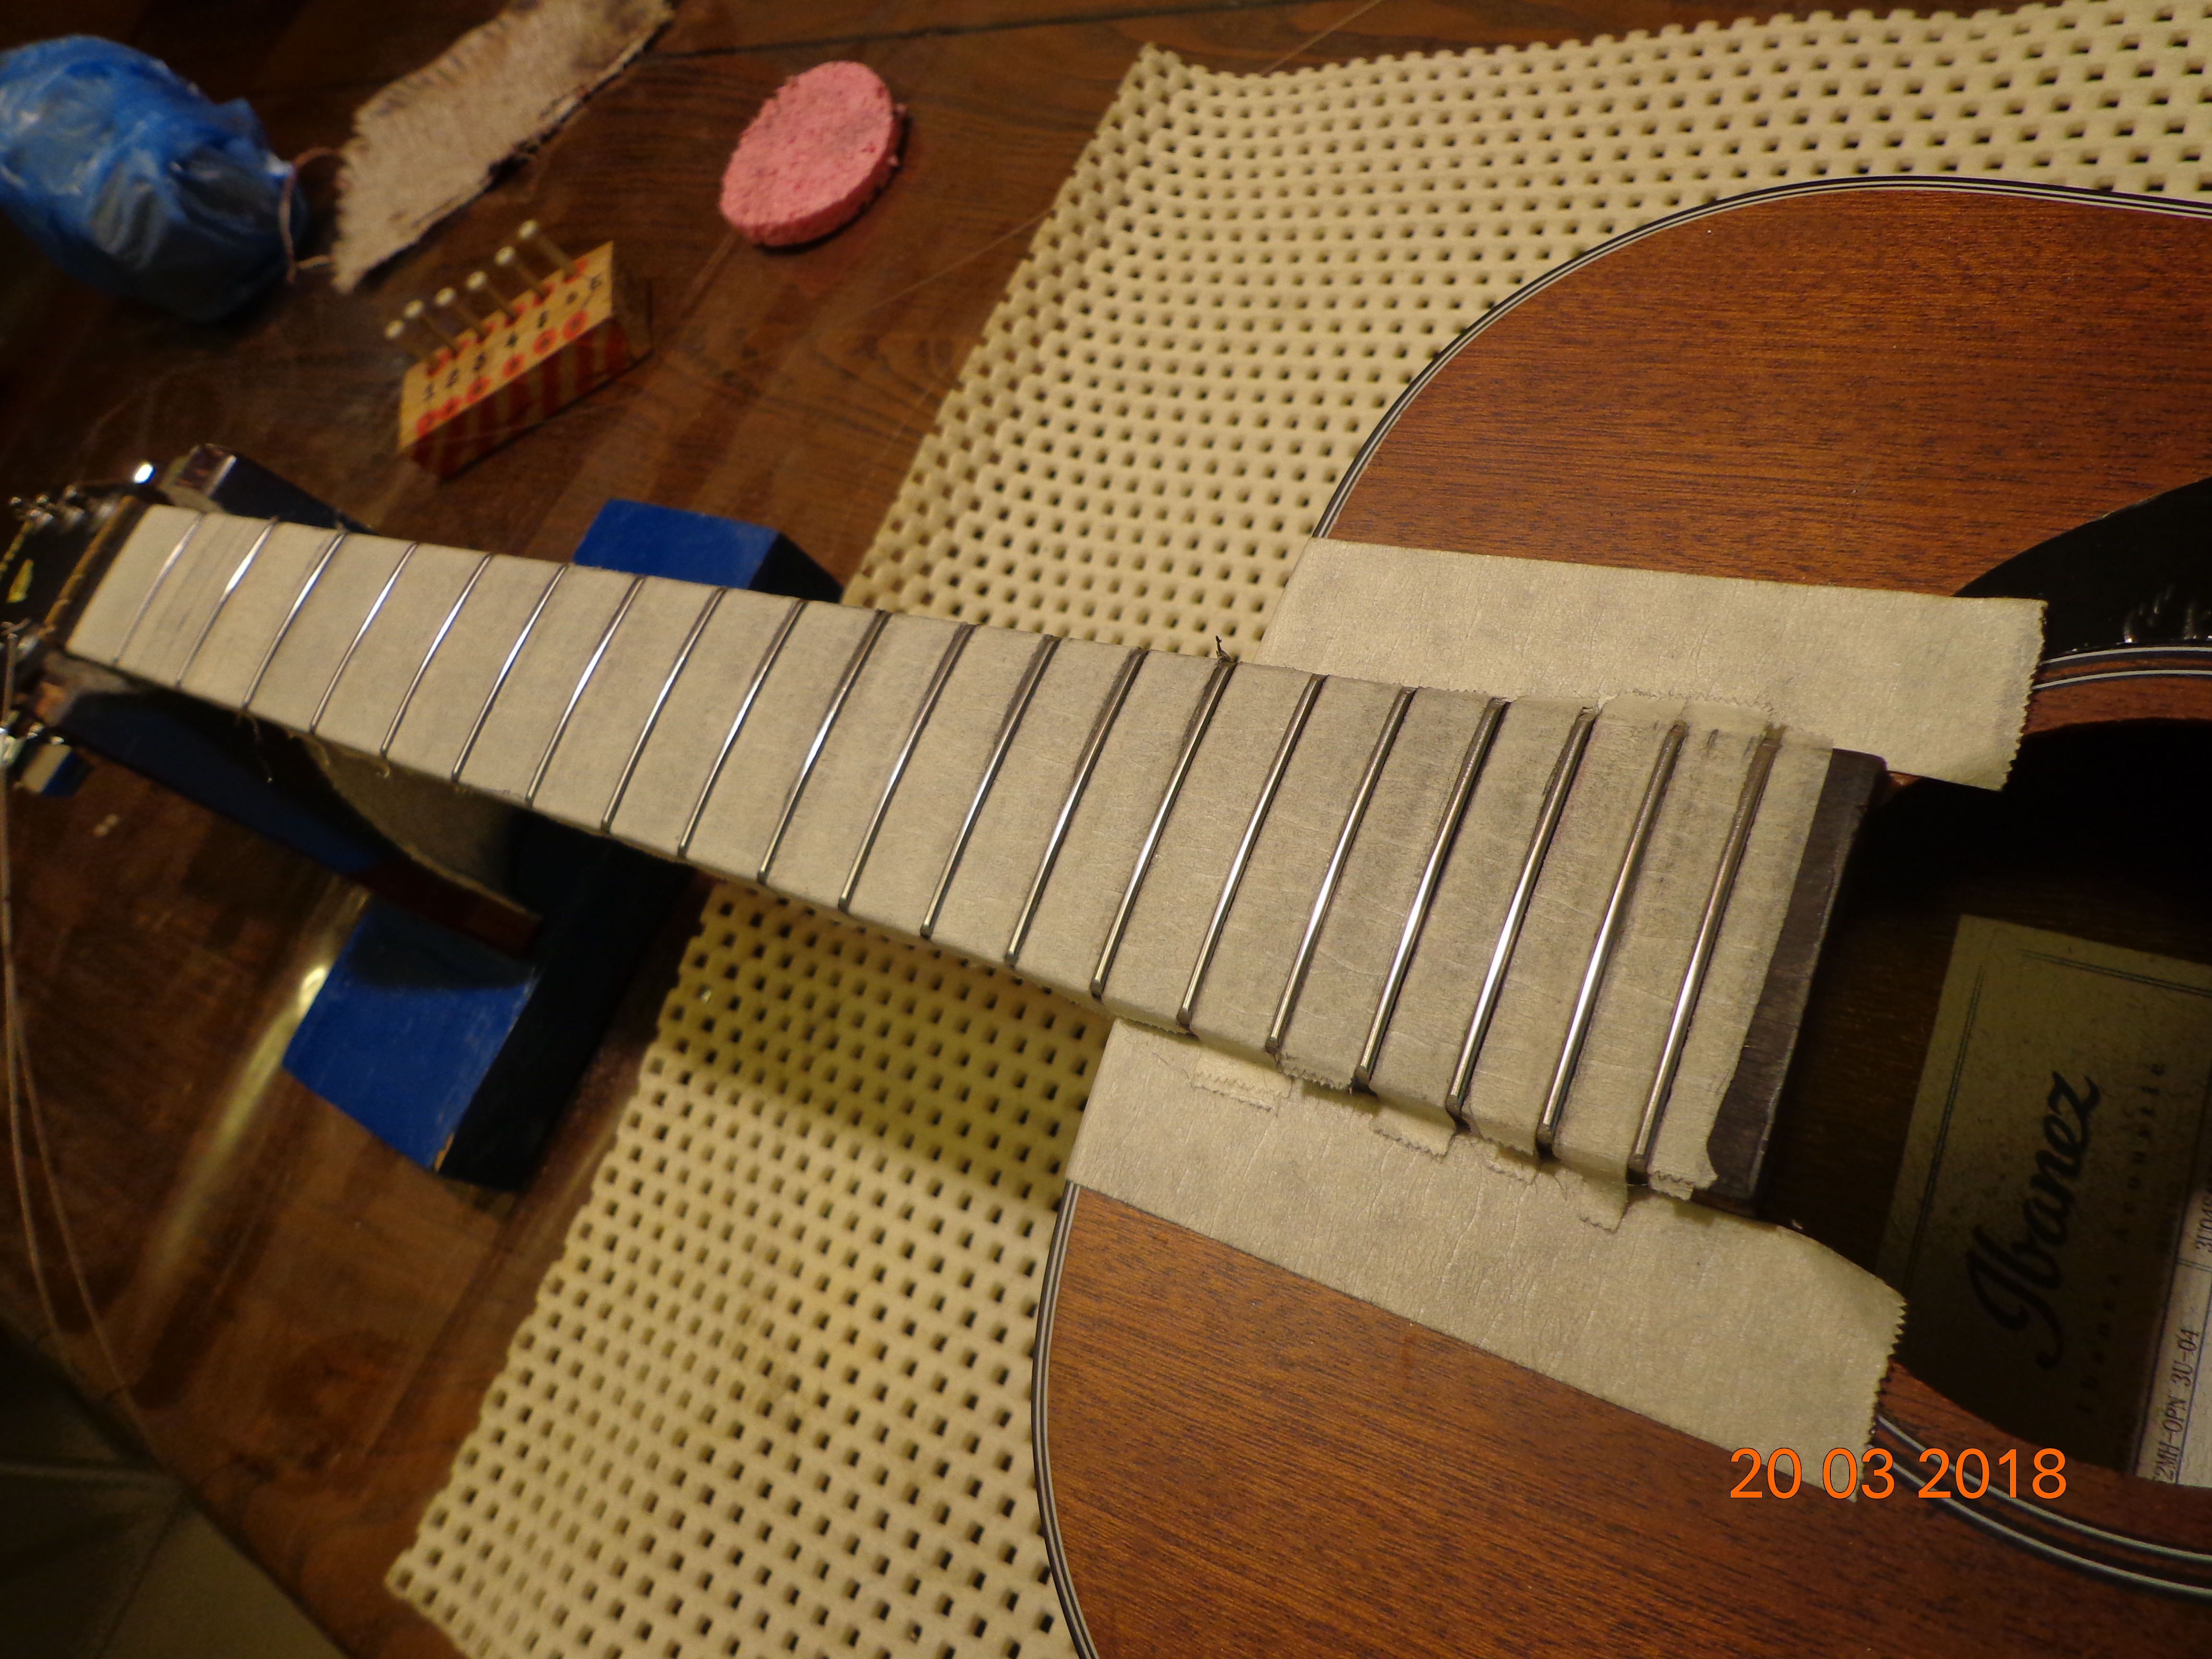
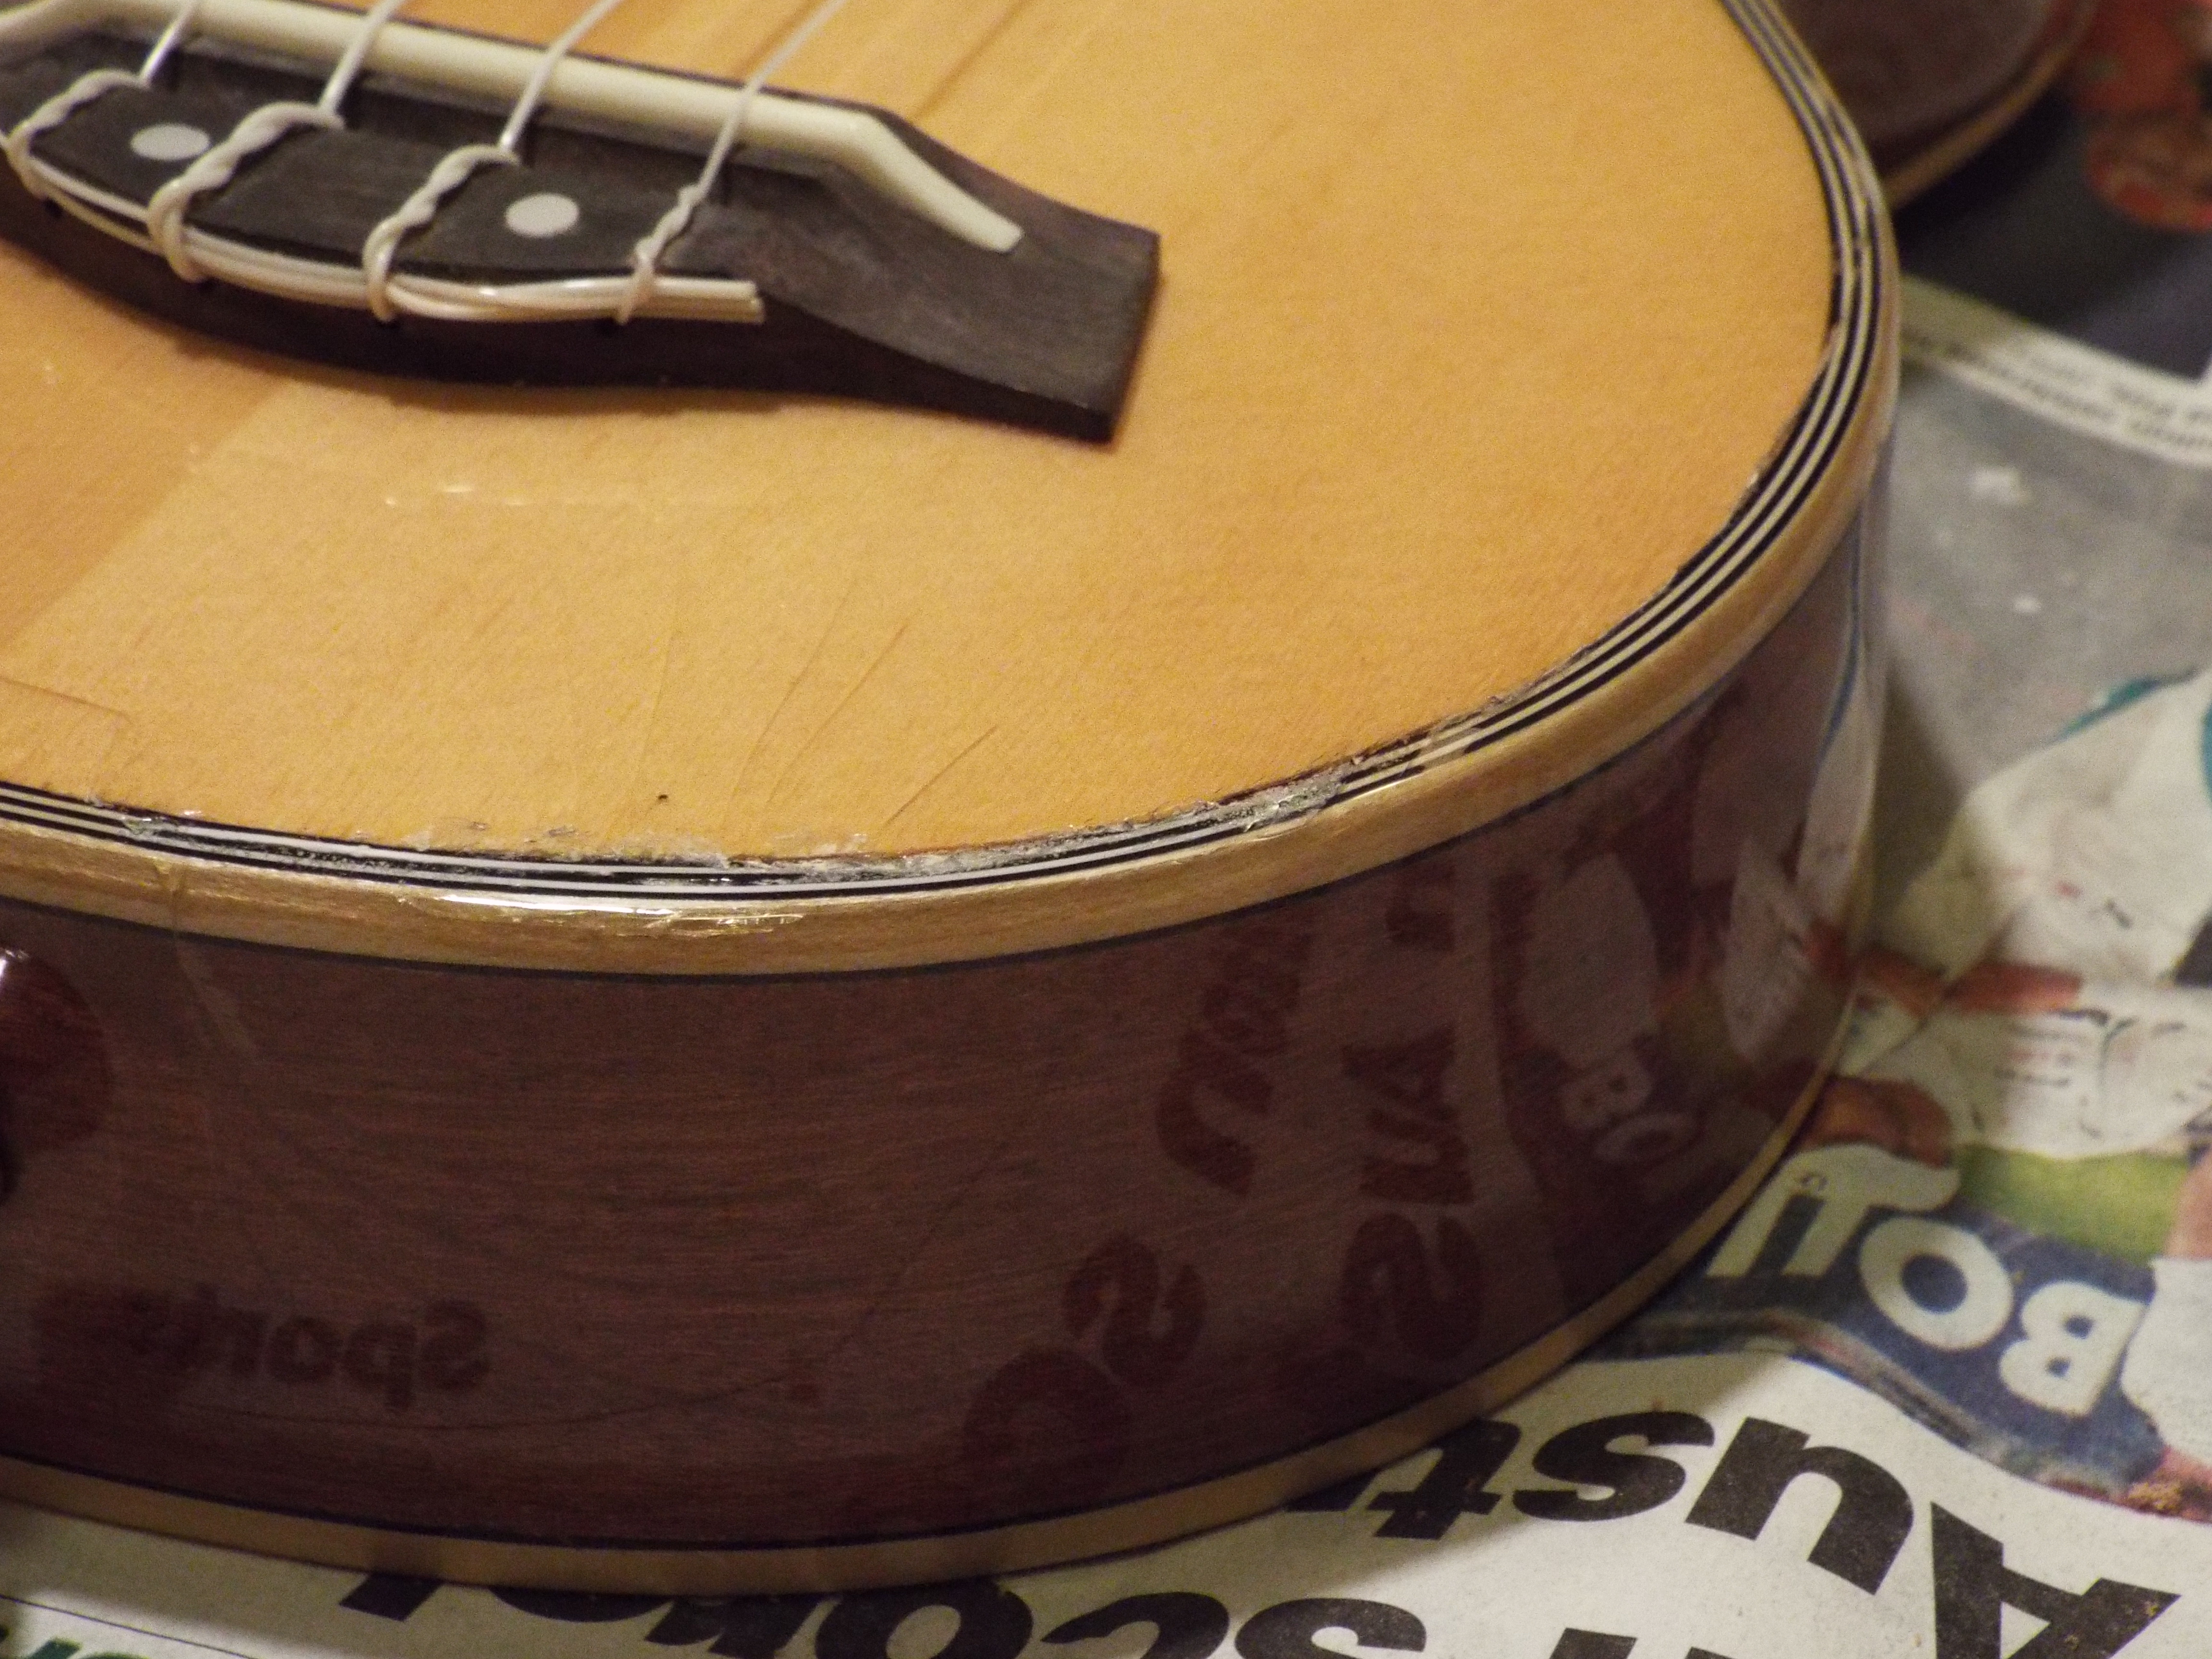
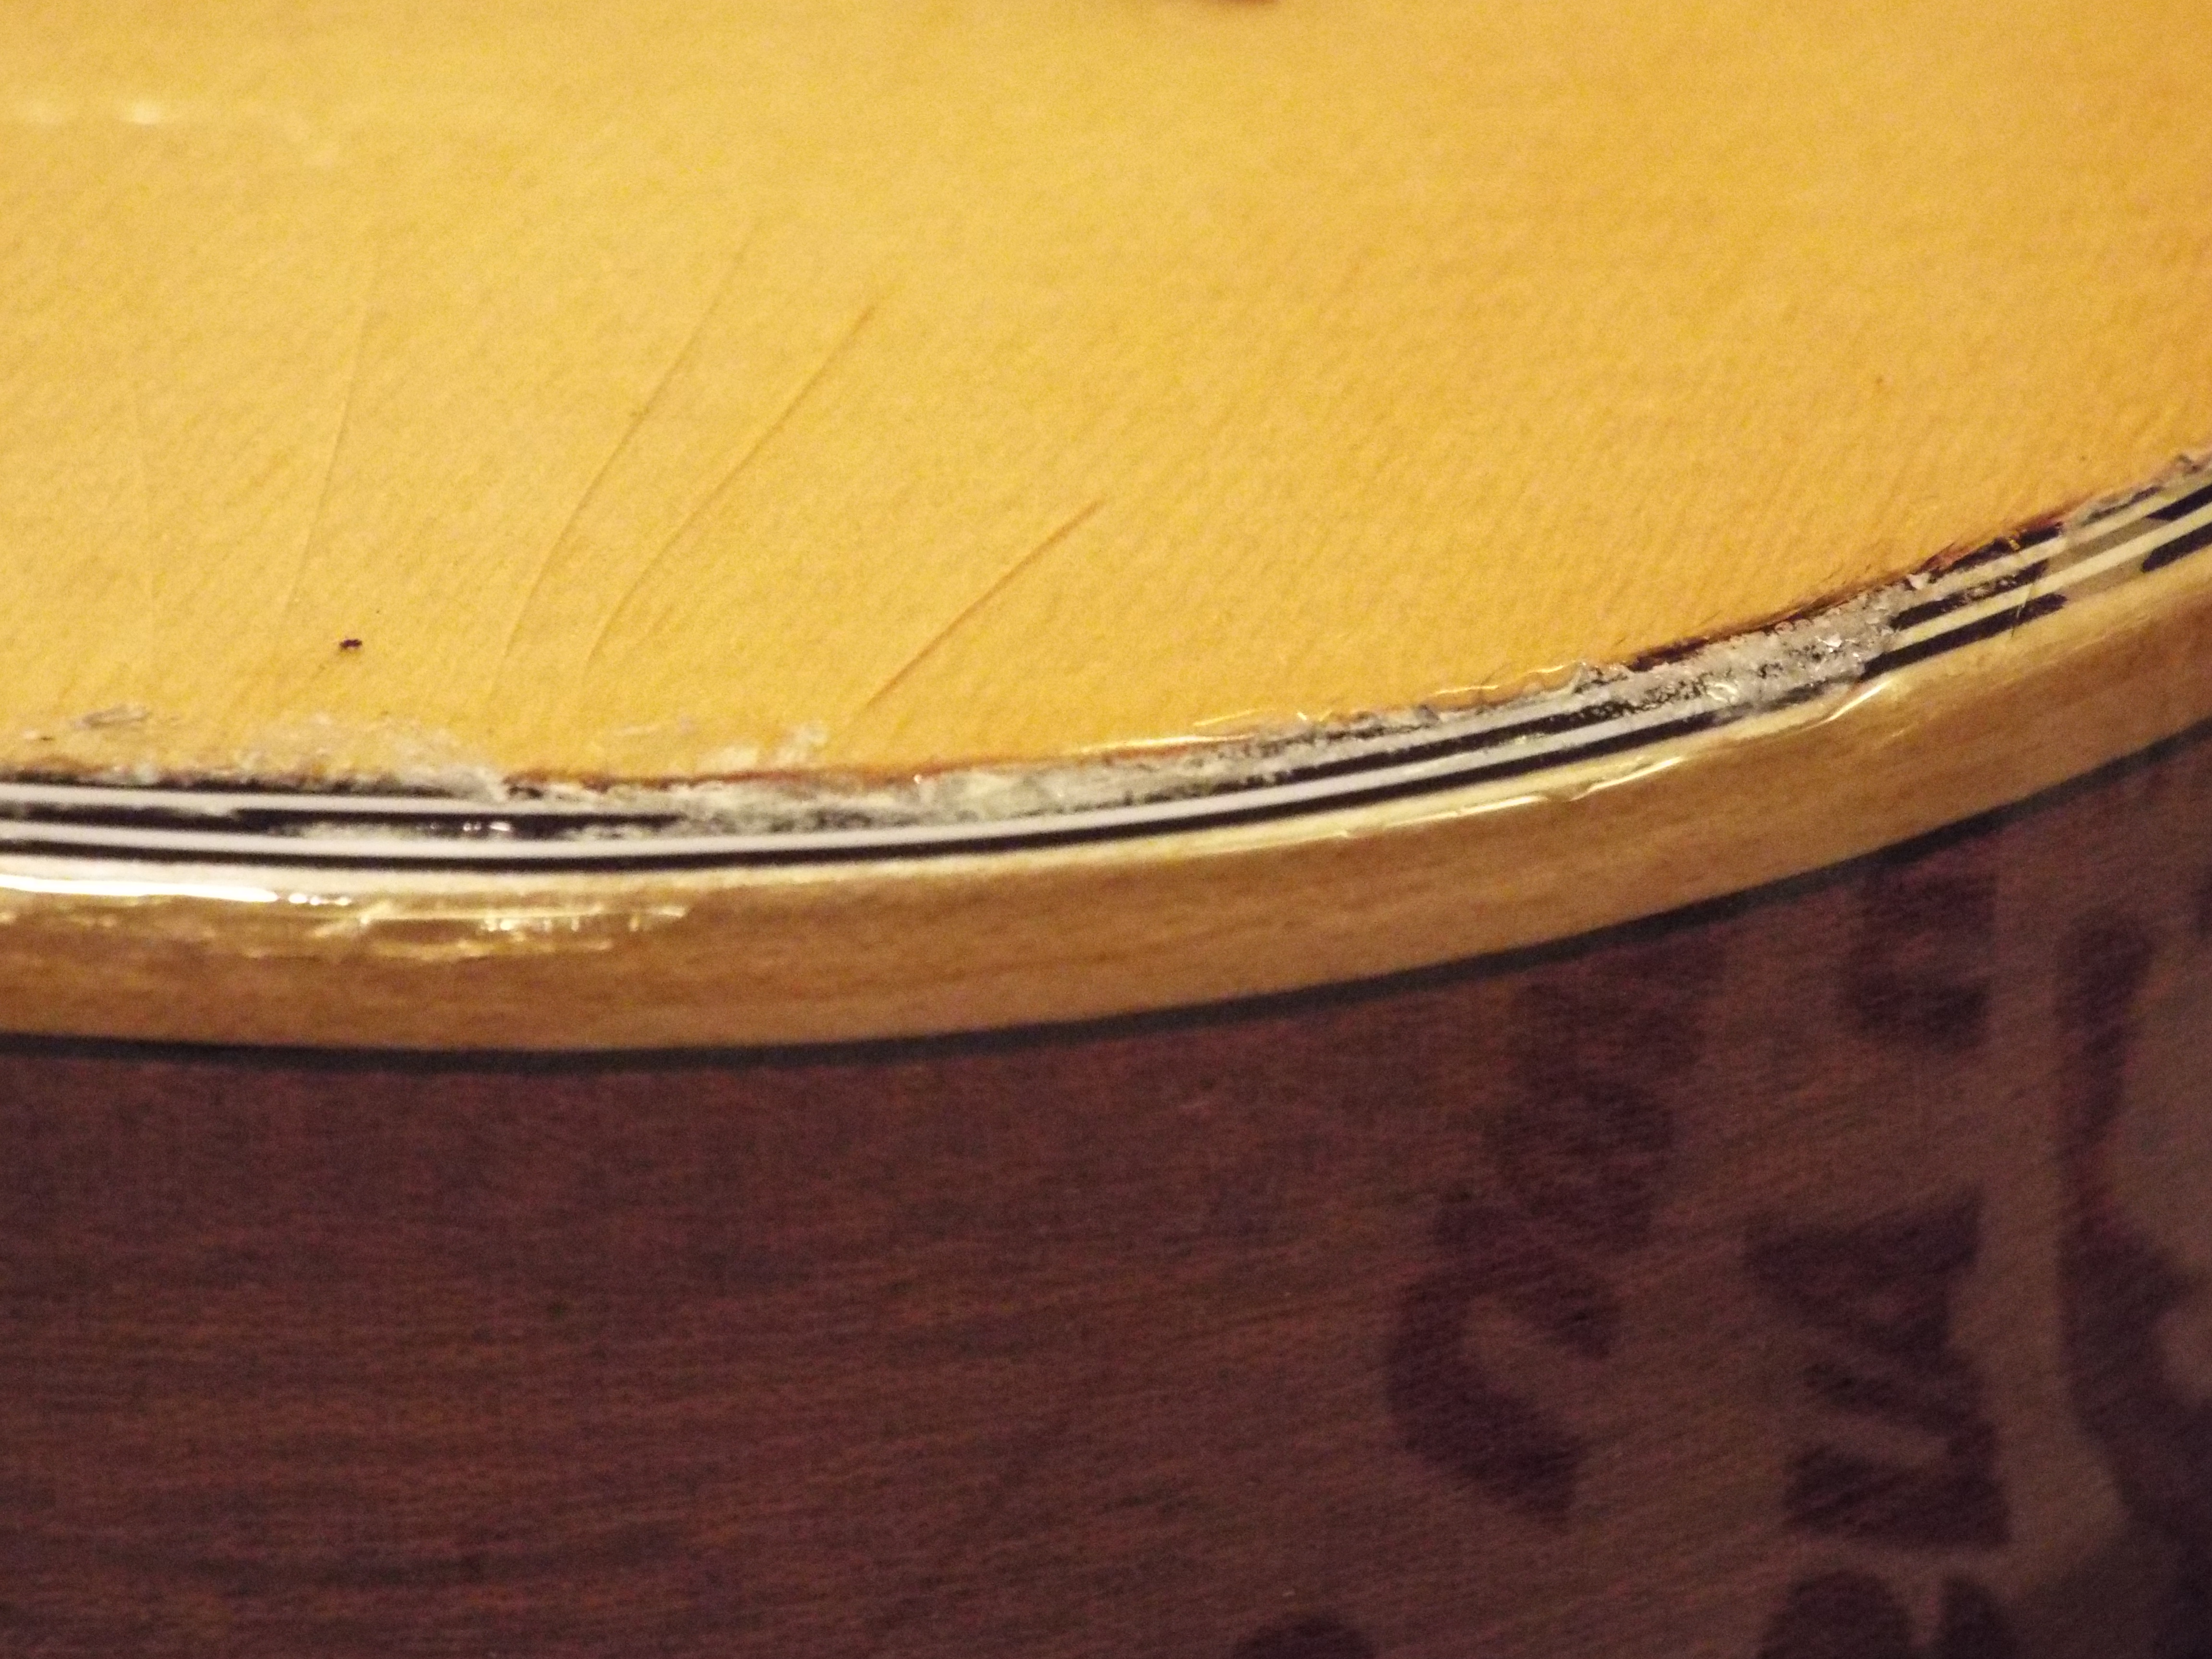
Also, the fretboard and bridge were dryer than tinder wood and the frets themselves were tarnished with minor pitting (indentations where strings struck the frets). As I inspected the guitar body, there was a chip on the outer extremity of the lower bout which exposed a bit of raw wood – probably caused by an accidental banging into something.

As I continued to go through the instrument under magnification and with a fine-tooth comb, I found the pickguard was lifting from the tip nearest to the fretboard. I pulled it off completely; the idea was to clean the pickguard and the area on the top where it was stuck, completely of the old glue and glue it back on.


If only things in practise were as easy as they appeared in theory! The glue around the periphery of the pickguard was dry and flaky. As I tried scraping it off, it left scratch marks like those when you scratch the painted side of a mirror: with light shining through! That being that I chucked the old pickguard and decided to put on a new one.
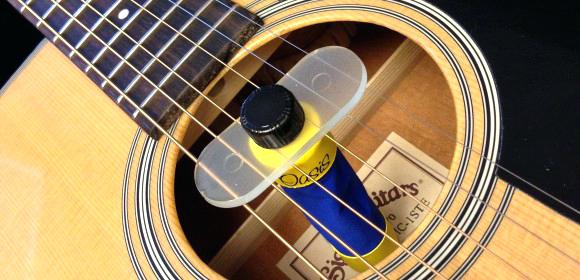
And then followed an unending experiment with solutions and solvents to take the drying glue off the top without harming the finish. Since you will screech in horror if I told you what finally worked, I won’t tell you! And a swanky new pickguard took the place of the old, cheap one.


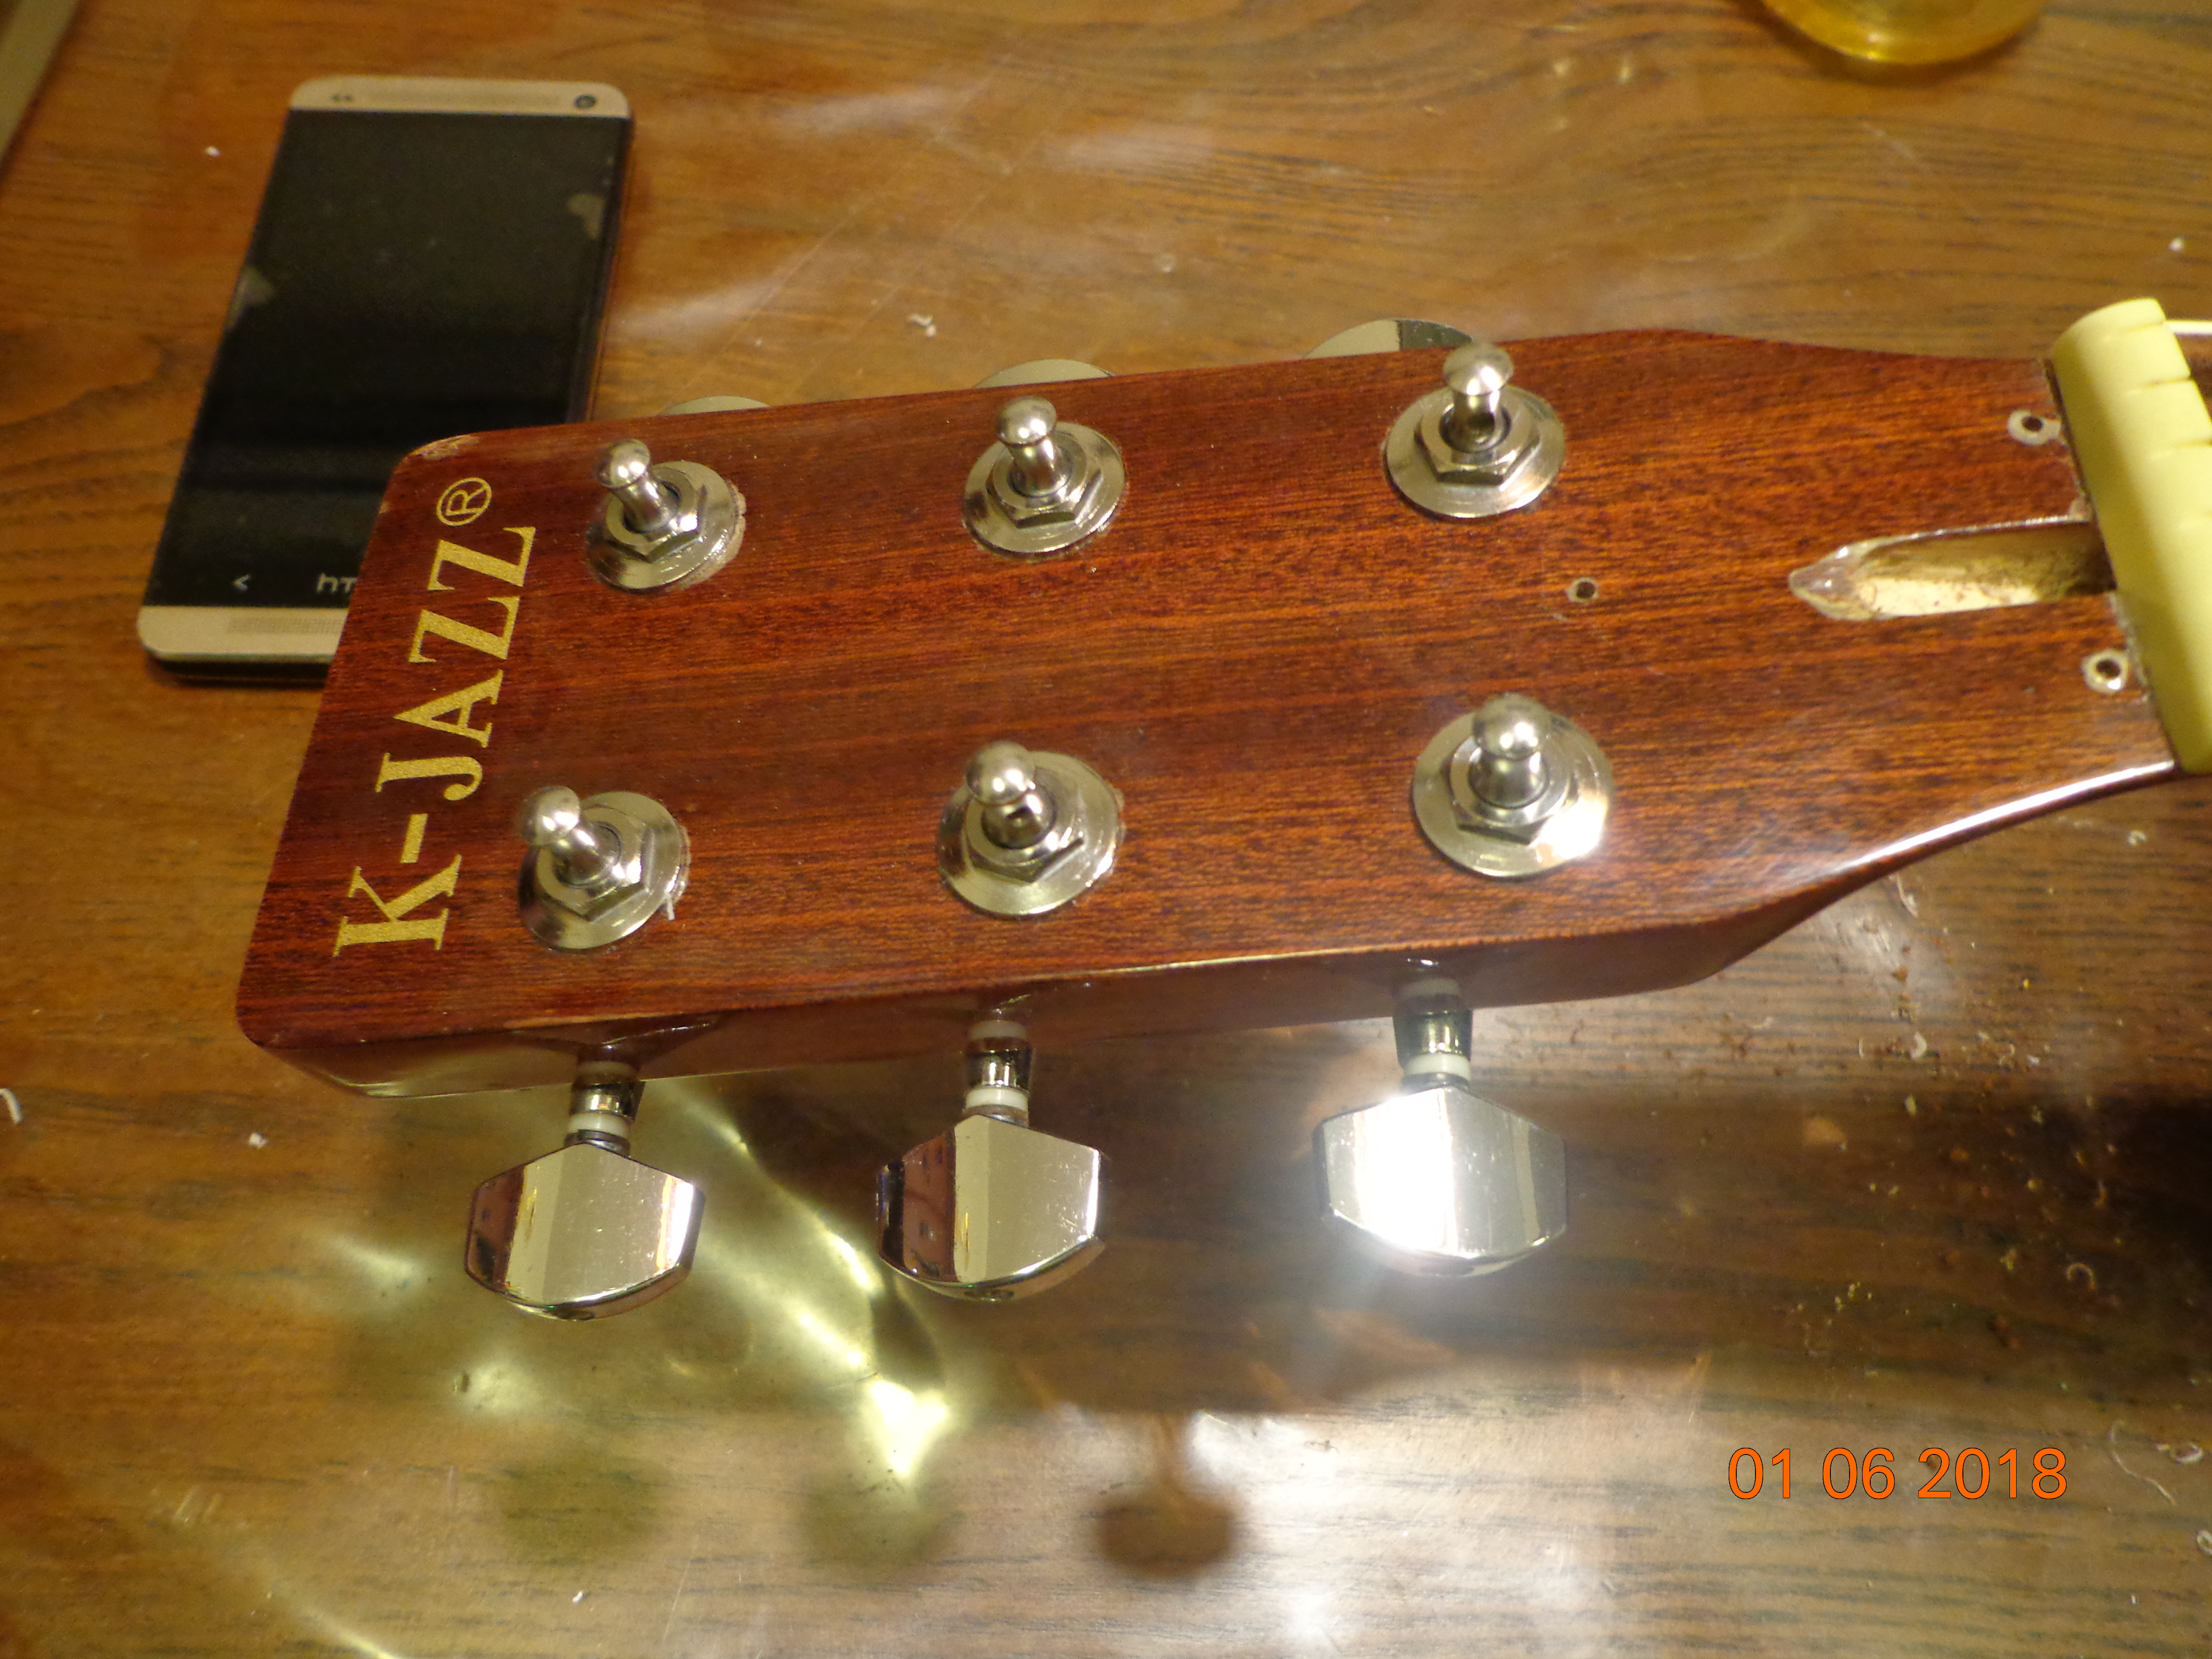
Then I turned my attention to the hardware. With some magic lotion and lots of elbow grease the tuning machines shone like new.


I took off the shoe-string tie and prepared to install a proper strap-pin on the heel of the guitar. Drilling the hole to accept the screw of the strap-pin at that sweet spot is a tricky proposition. This one came out just fine.

Instinctively, I looked at the strap-pin at the bottom of the guitar. It was tarnished and beaten. So, I changed both, shiny and new.
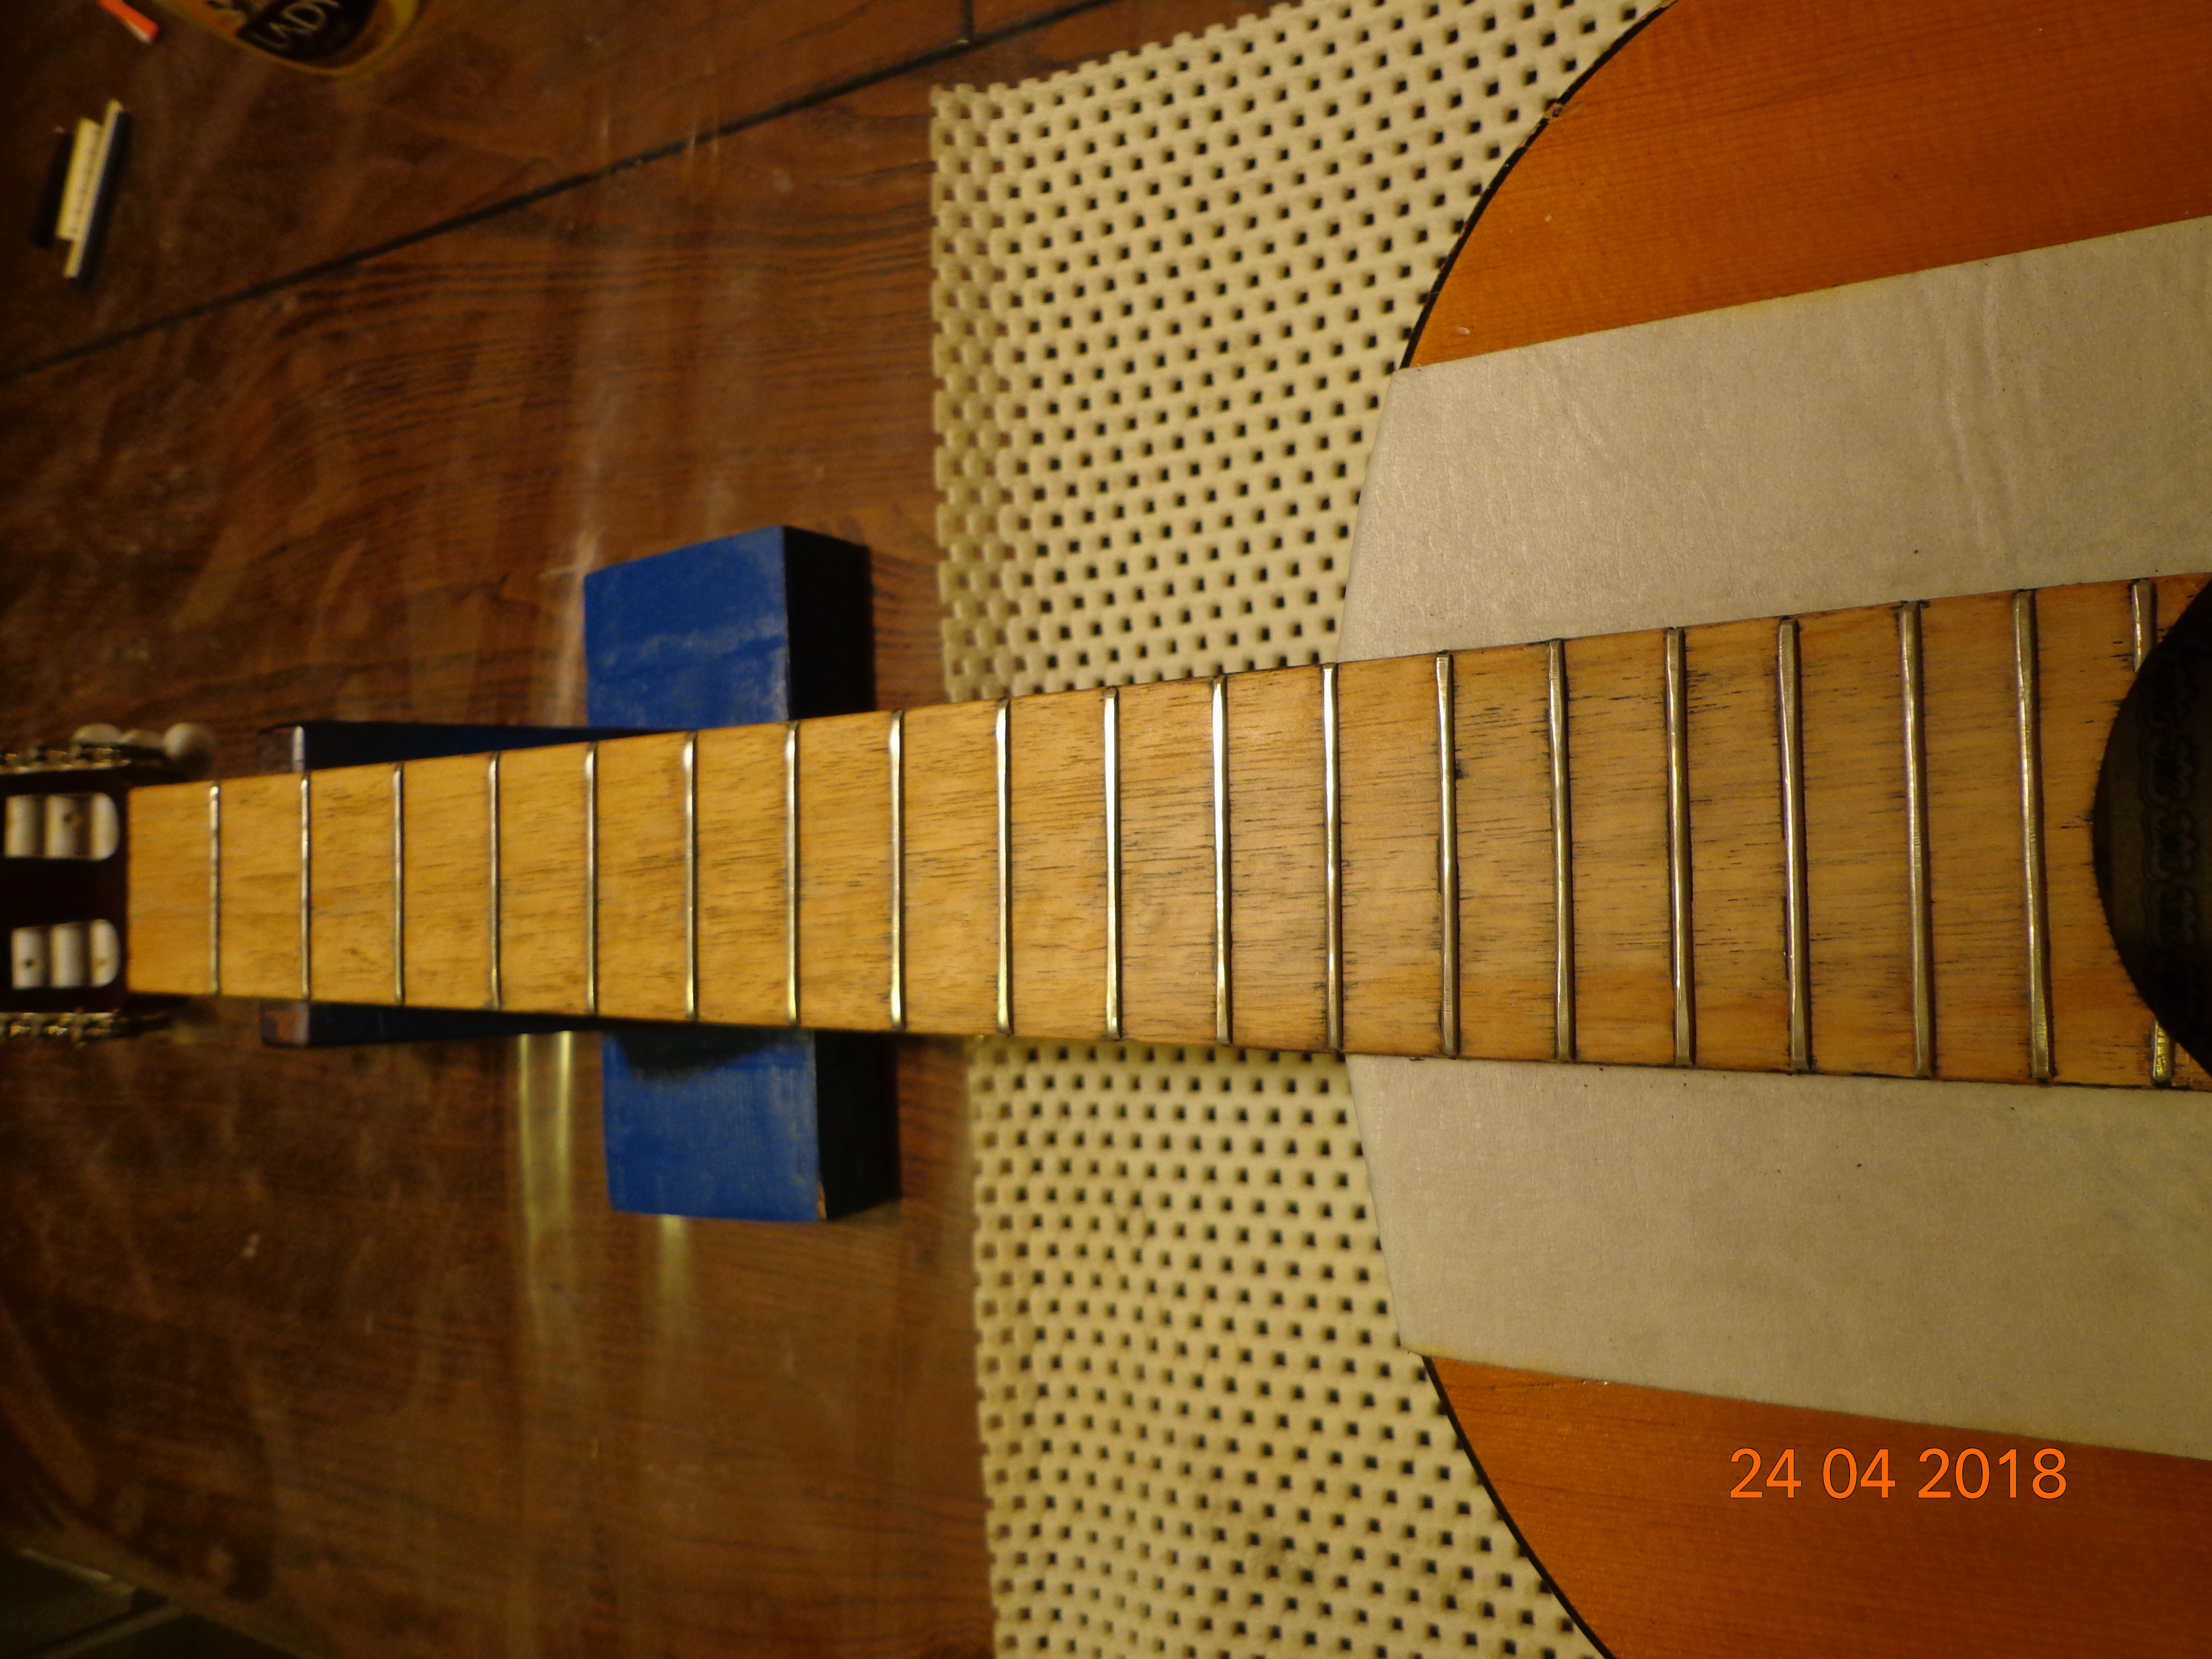
Turning my attention to the fretboard, I scraped it clean, applied a double dose of nutrients – as also to the bridge – and recrowned and polished the frets. The end result was, indeed, pleasing to the eyes.


In earlier posts, I have failed to properly explain the process of replacing a plastic nut and saddle with bone elements. Let me set the record straight with this post.
First of all, what is the need to replace plastic parts? Plastic is cheap and easily available. Most guitar manufacturers (barring the biggest names in the business) put in the cheapest stuff possible to increase their profit margin – and that goes for everything that is your guitar – the wood, tuning machines, strings, nut and saddle. The plastic nut and saddle serve the purpose but when compared to bone, the volume and quality of sound is not even a patch.
This is due to the fact that bone is a denser material. Denser the material, greater will be the transfer of sound, and lesser the loss of sound while transferring from string to saddle/nut to bridge/neck.
After bone, a denser material is something called Tusq. It is synthetic but I won’t vouch for the quality of sound it produces. While I don’t like the sound from Tusq elements, for it lacks the mellow warmth of bone, many people do prefer it.
So…the plastic elements are taken out and bone elements put in. Hardly as easy as that! These bone elements are also mass produced and need to be customised to fit a particular instrument. For each instrument, the dimensions of these parts – like thickness and height – are different, which needs to be dialled in before these elements can work the best that they can with the instrument.
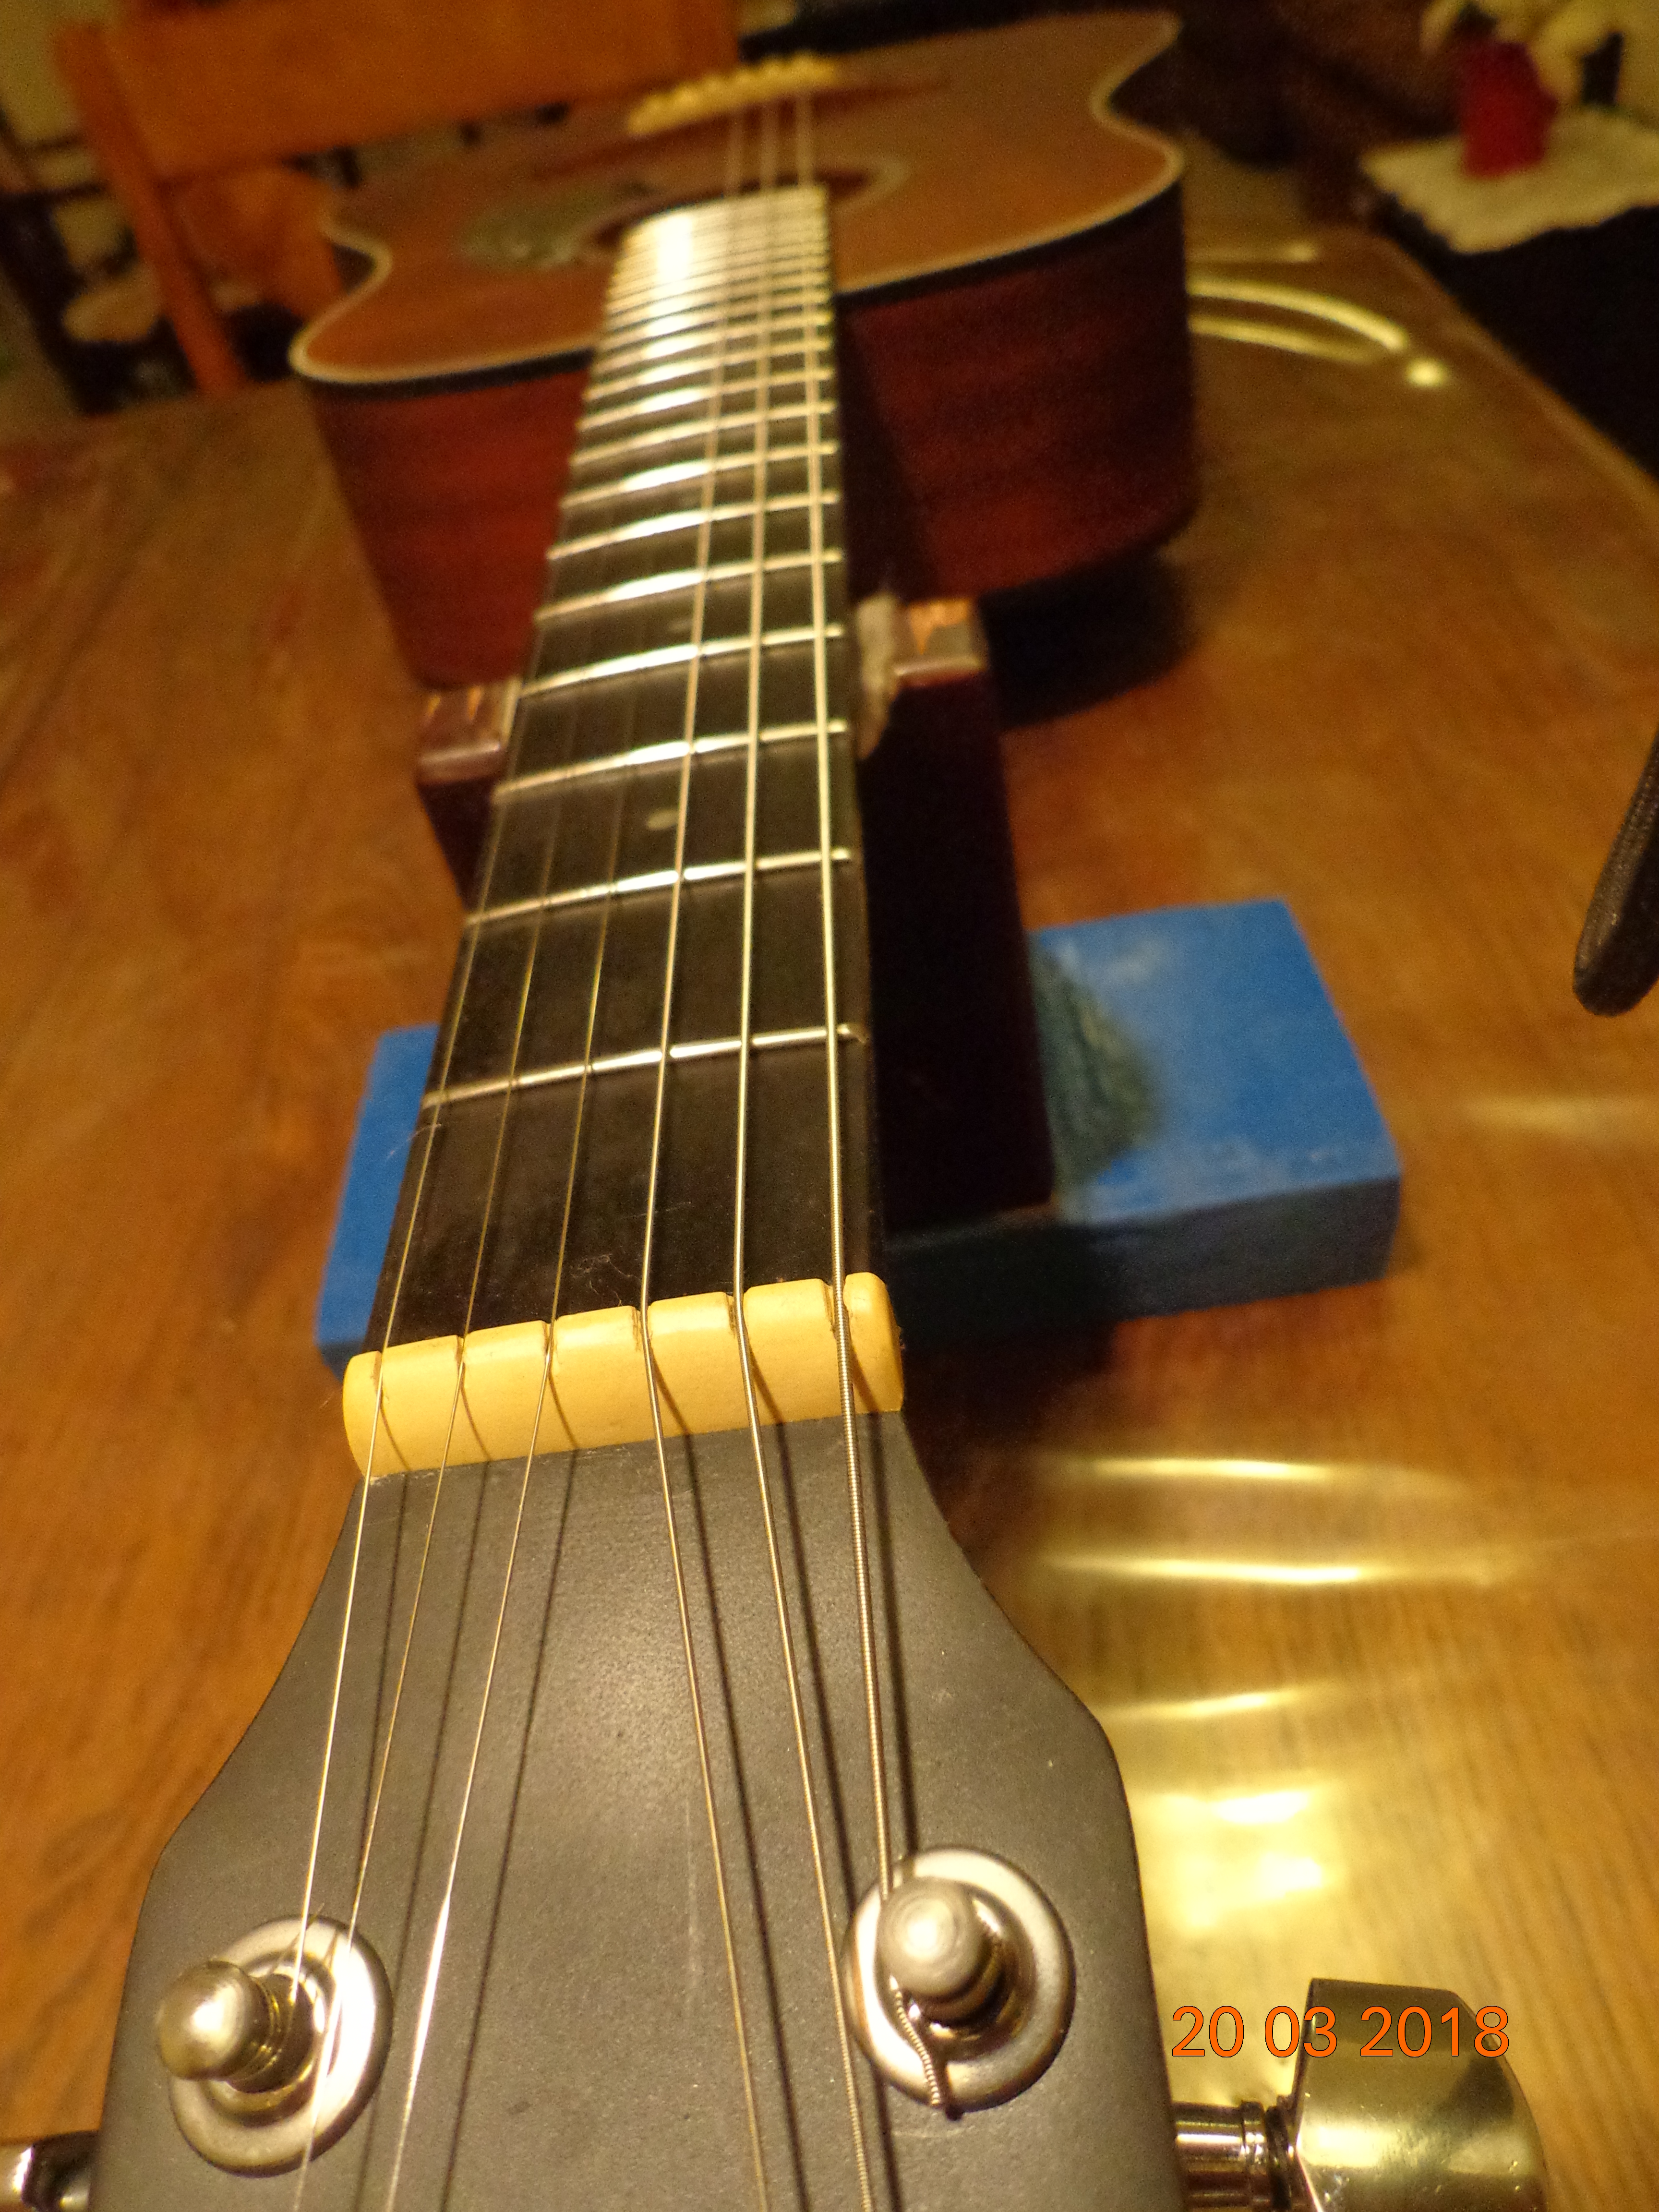
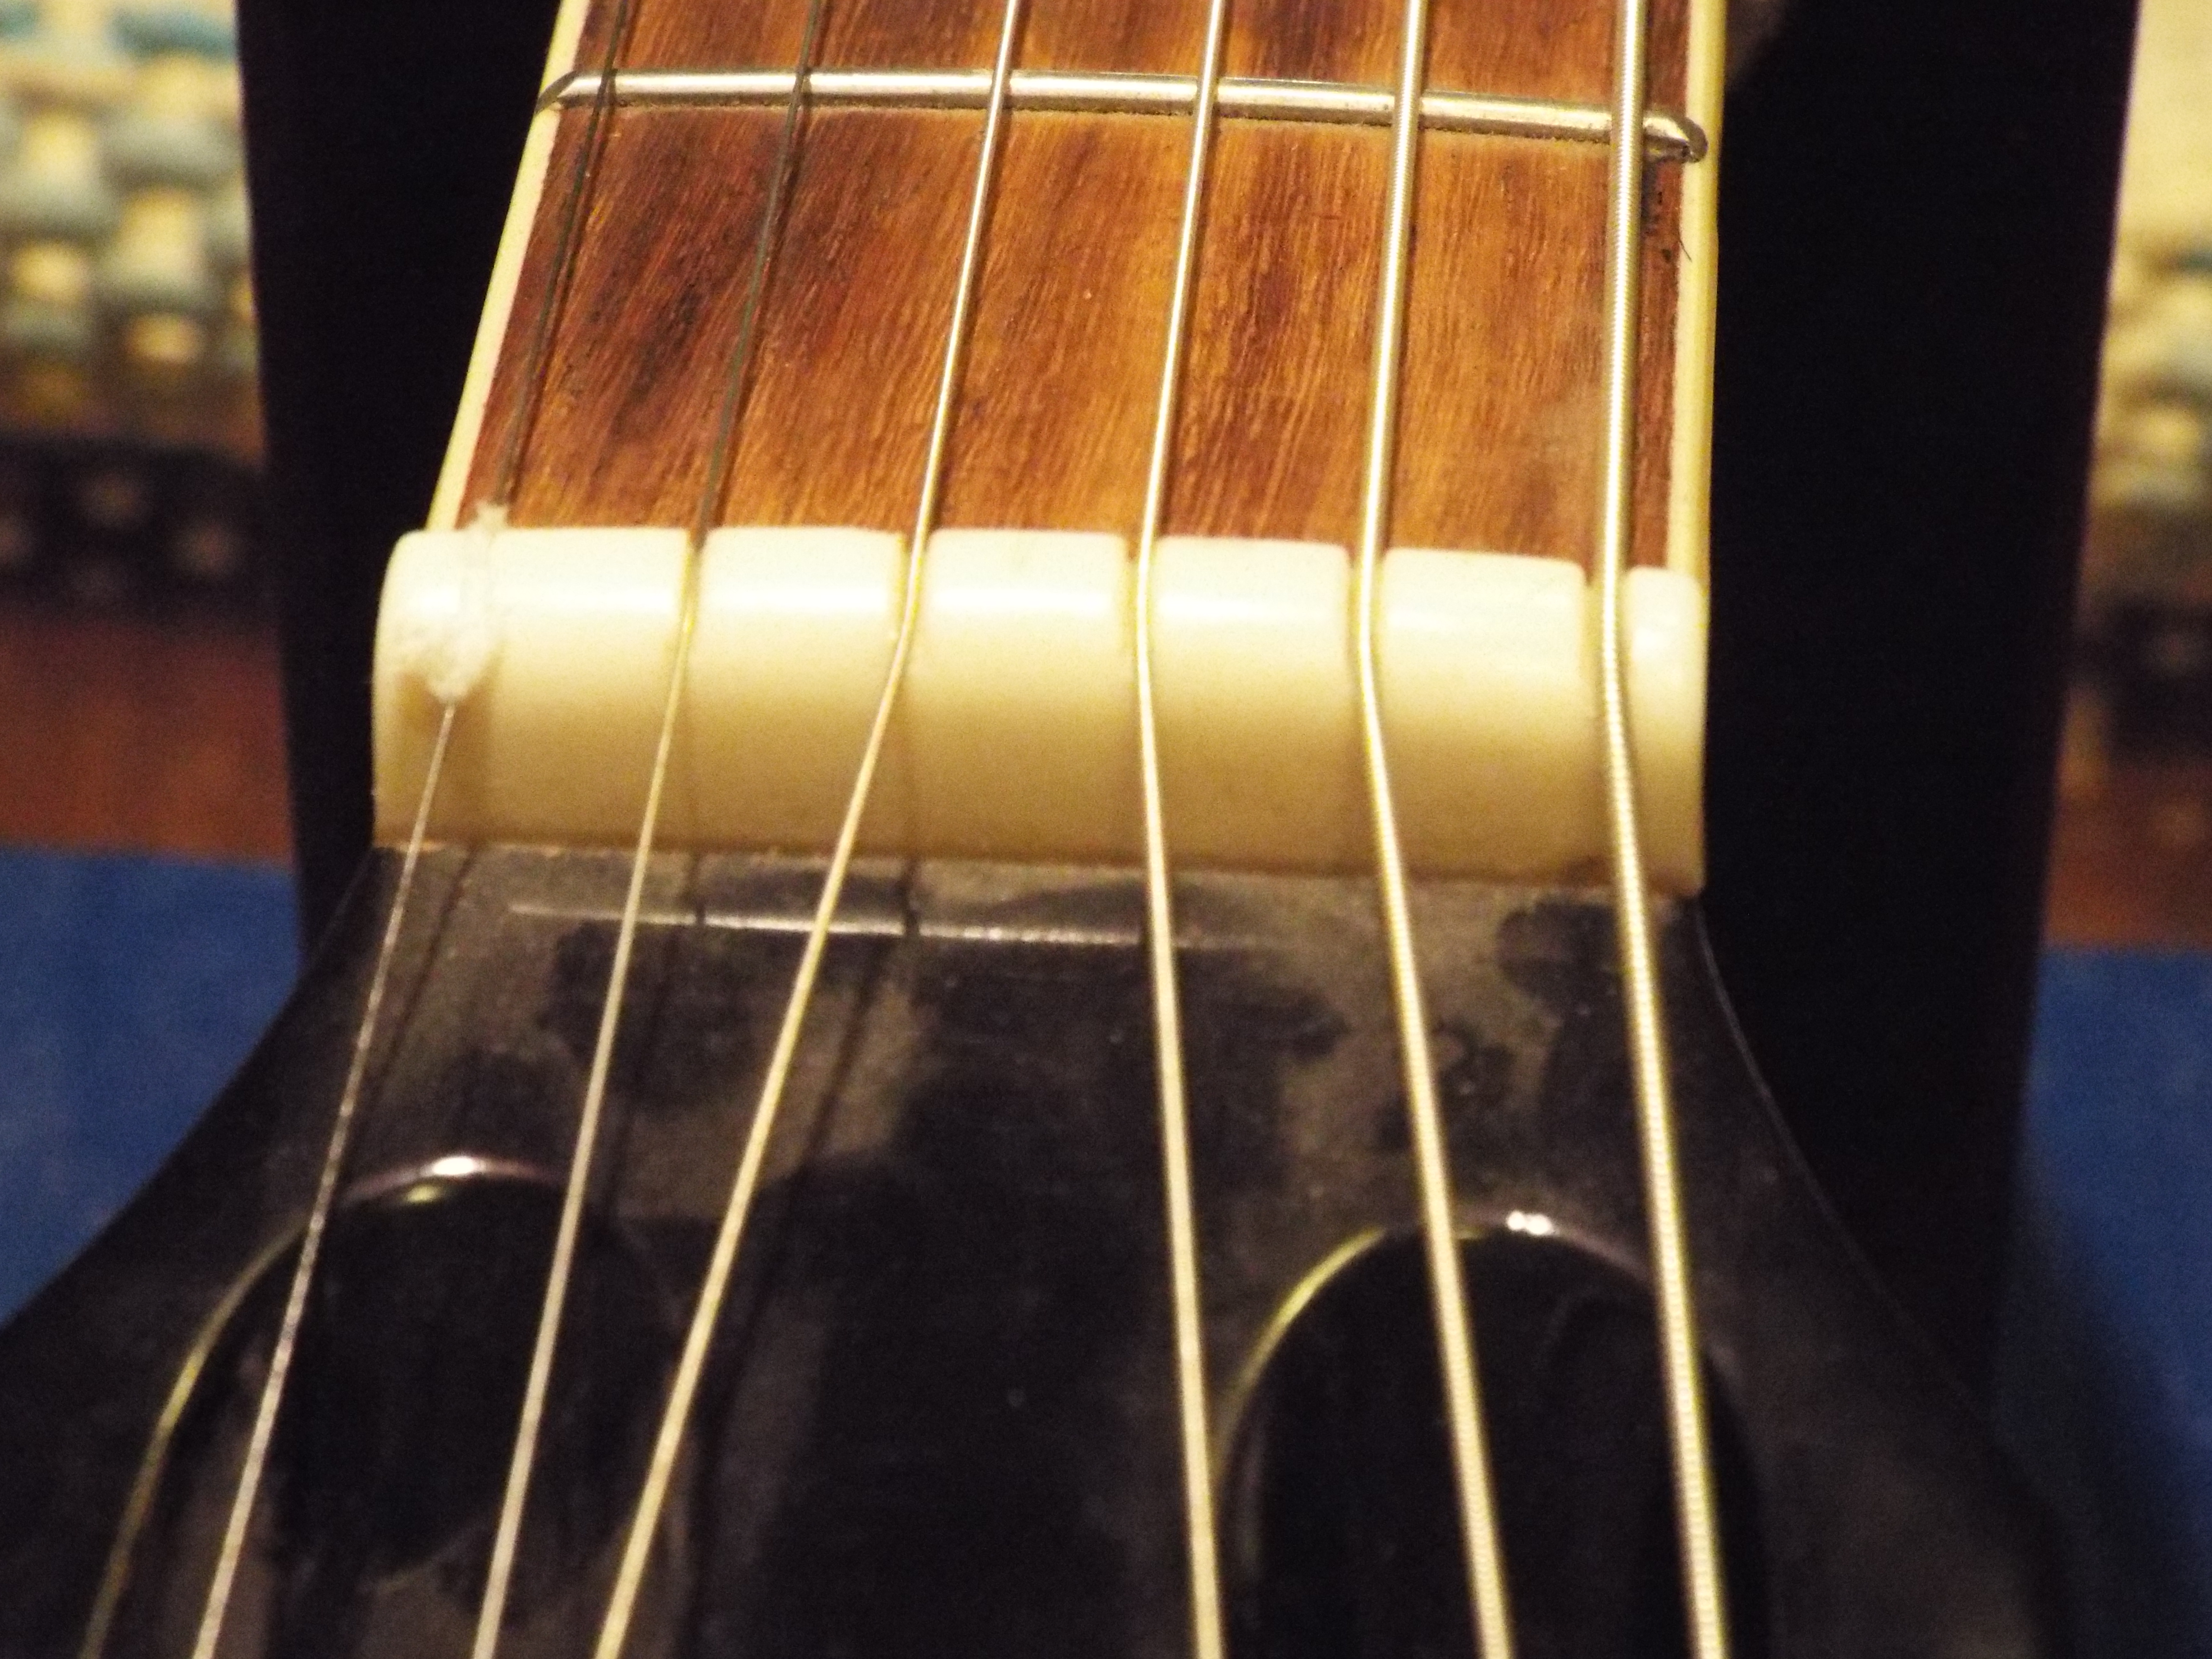
So, the nut was shaved down – both in height and thickness – as was the saddle.

Also, the nut slots had to be lowered to get the action on the guitar to an acceptable level. Once that was done, a carbon jelly was introduced in the slots so that the strings wouldn’t catch in the slots, while tuning up or down.

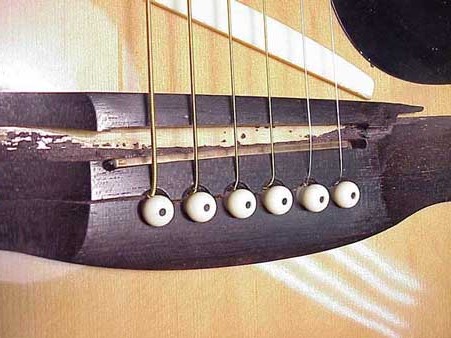
The angle that the strings make coming out of the bridge holes to the top of the saddle also has a big impact on the volume and quality of sound. With a tall saddle, strings can come straight out of the holes and the angle created is good, exerting a lot of pressure on the saddle, forcing it down into the bridge, which helps maxamise sound transfer and minimises loss of sound.
With a shaved-down saddle (to compensate for high action), the string slot has to be extended a bit so that that angle is created. The angle thus created, exerts pressure on the saddle, which, in turn, helps in a solid transfer of sound.


And finally, Black Beauty II’s coat was given a proper rubdown. See it gleam in health and happiness! Happy to see this beauty turn out the way it did!


 C’mon! Look at that beautiful sunburst!Think about it till Sunday, when we get into the business side of things.


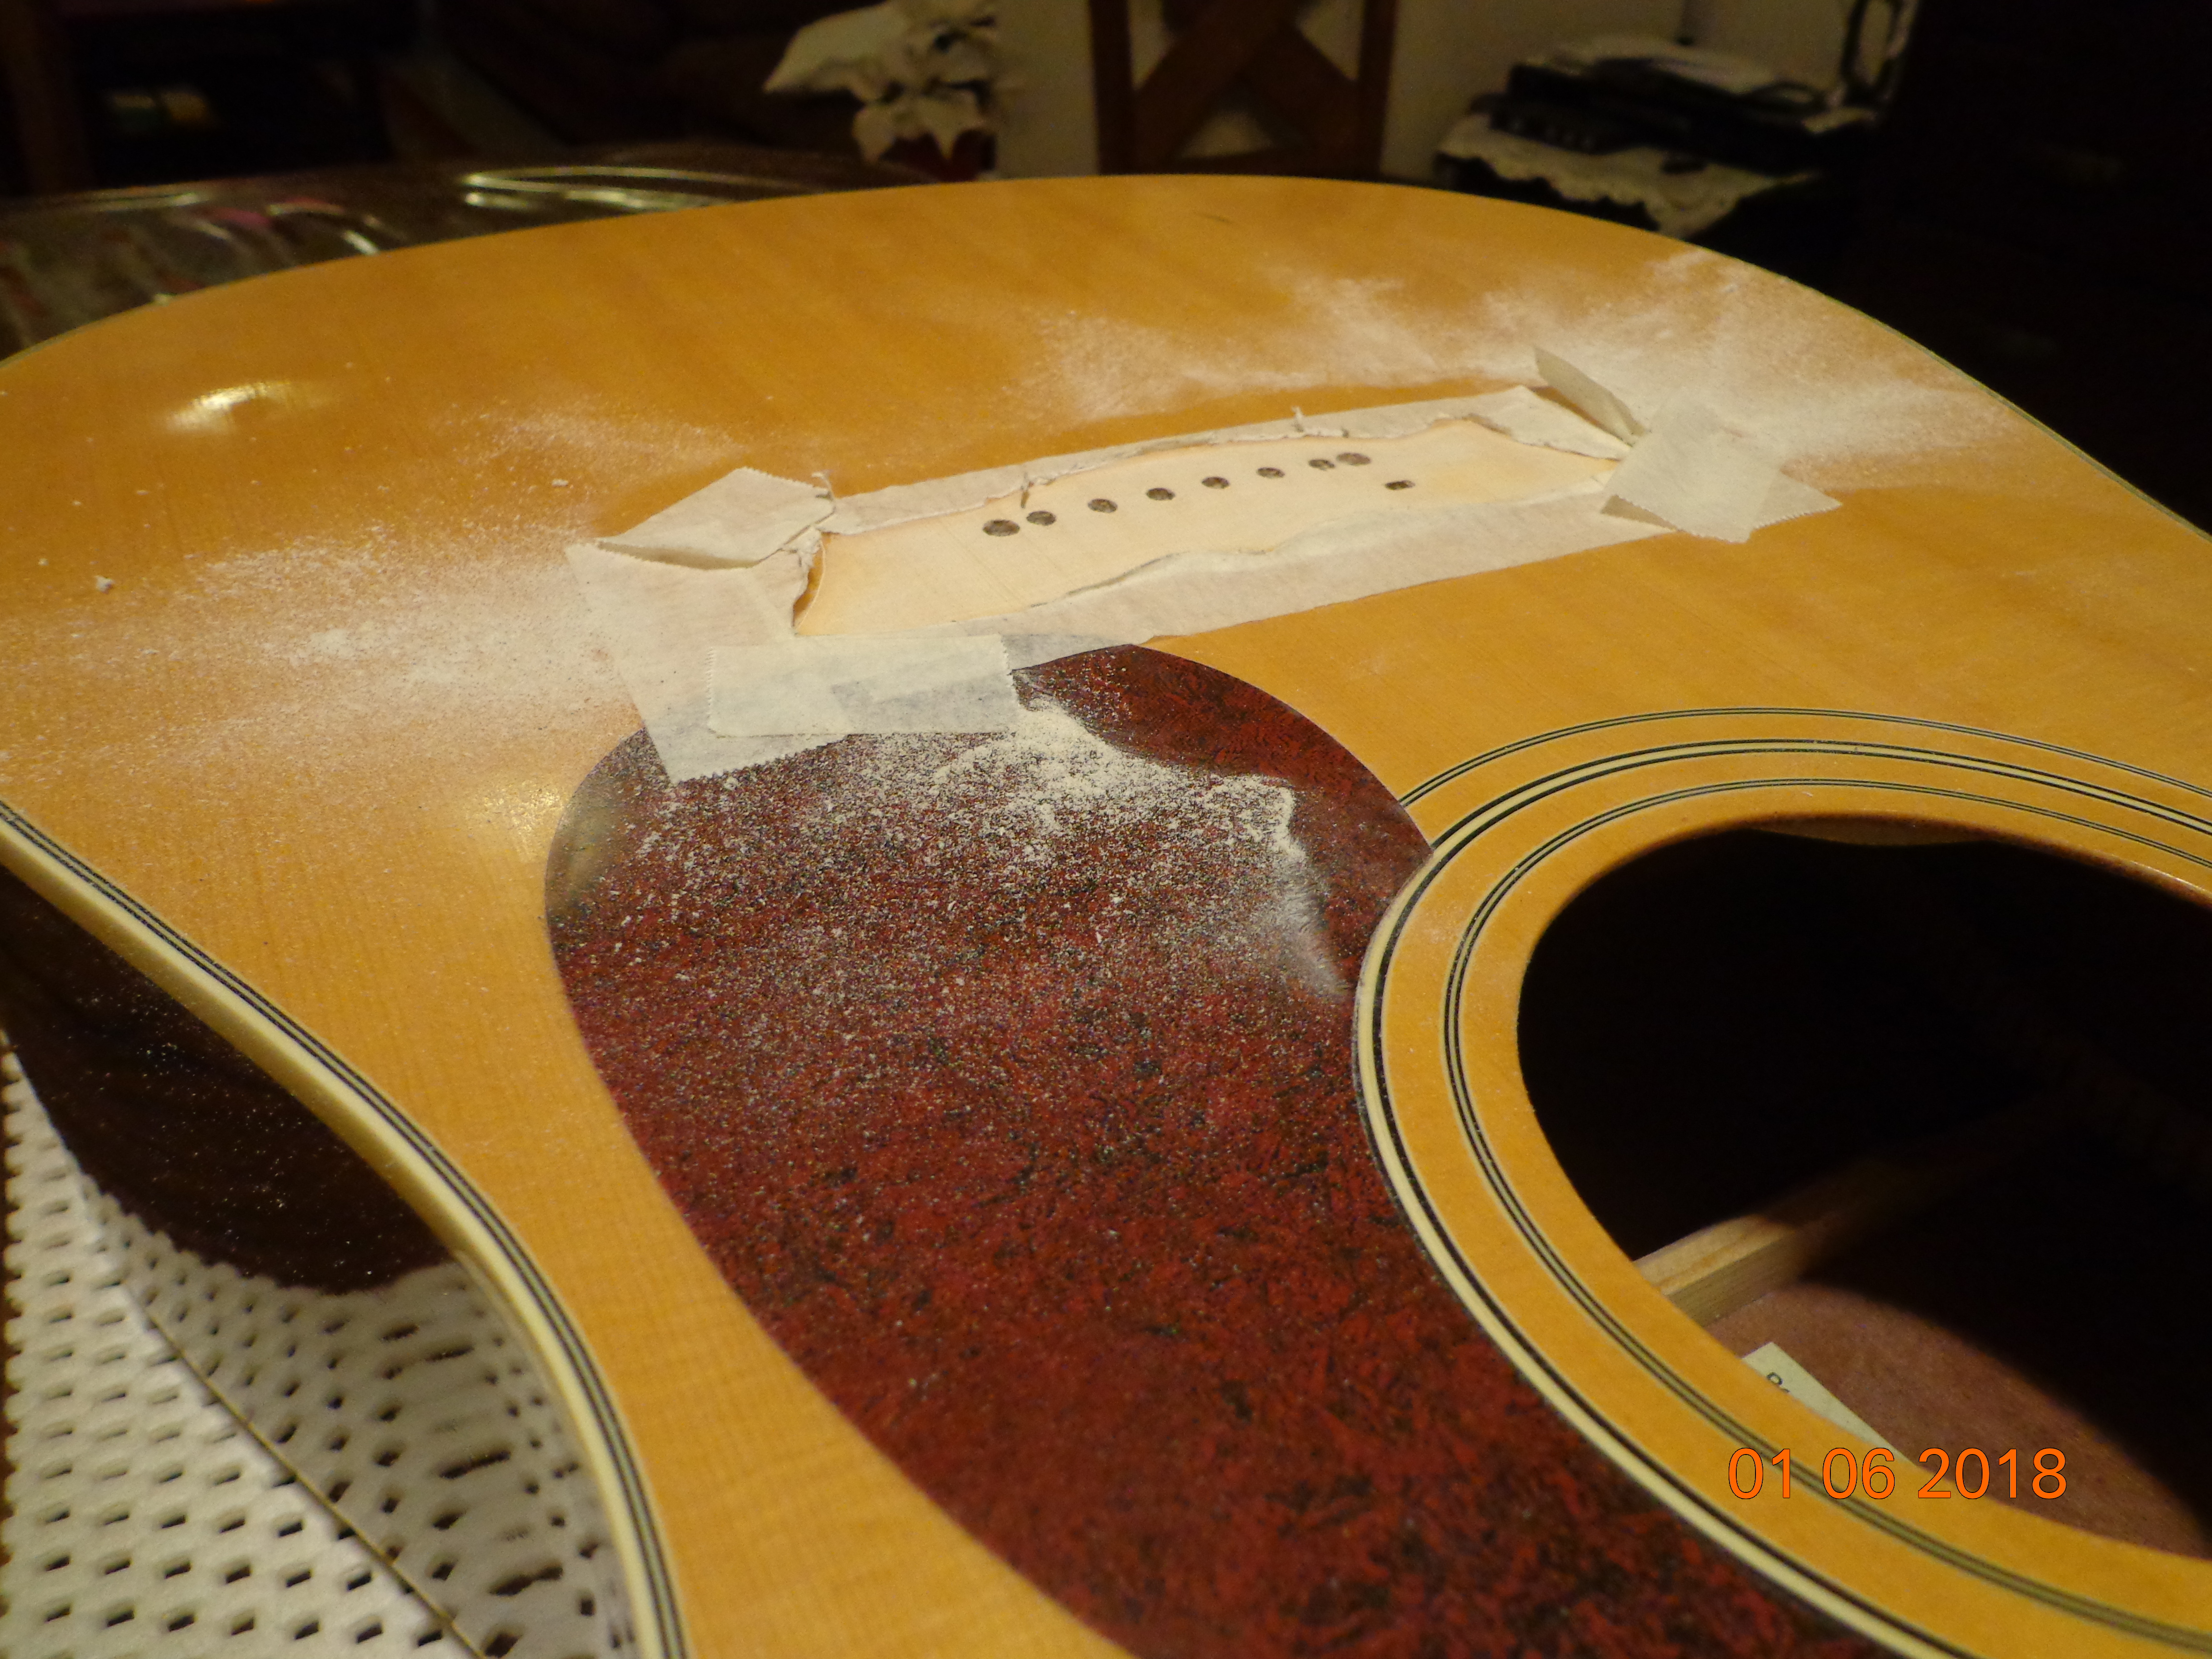


 One look at it and I was grimacing for I knew what lay ahead: hours of scraping and scratching and cleaning before it was completely rid of the goo. Exactly two hours and forty-five minutes later, the bridge and the area on the top where it would be stuck, looked like this – finally!
 I glued on the bridge and clamped it down to be left for 48 hours like that. In the meantime, I went about working on the dented fretwires.