One can always make out the difference between an instrument that is in play and one which was stood up in a corner and forgotten about.
For me, it’s always a joy when stood-up-and-forgotten instruments land up on my work table. It shows that somewhere, something sparked the desire to pick up the instrument and play. And why is that a good thing? Because it’s my long-held belief that you can’t find a better friend and companion than a musical instrument.
That said, it is also true that stood-up-and-forgotten instruments are a lot or work due to the rot that tends to set in over time. And while there might be a few obvious things that need correction, there are many more lurking inside, in places you can’t reach, which also require your attention.
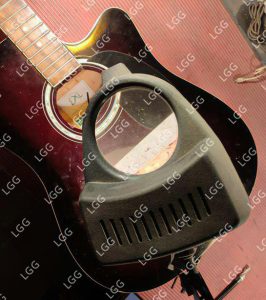
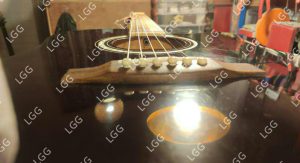
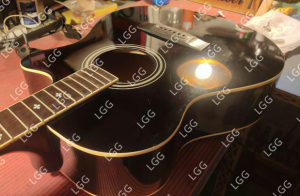
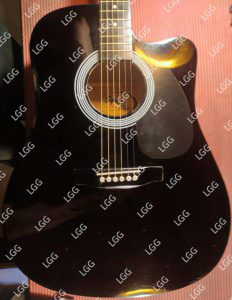
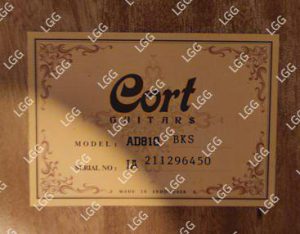
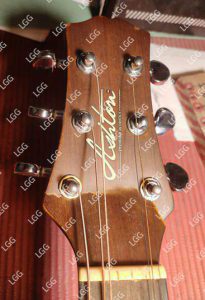
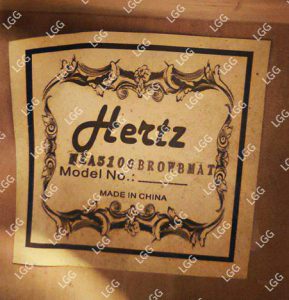
Take this Westwood for example

If there was anything that could be wrong in an acoustic guitar, this instrument exemplified it!
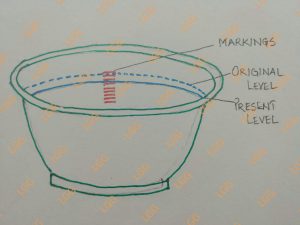
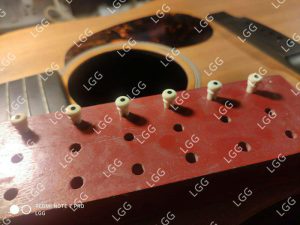
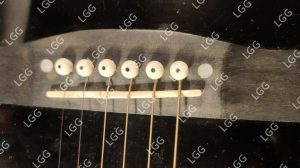
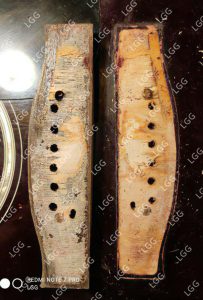
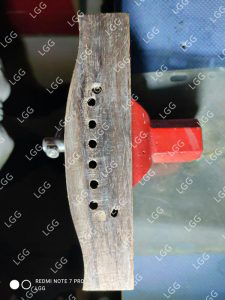
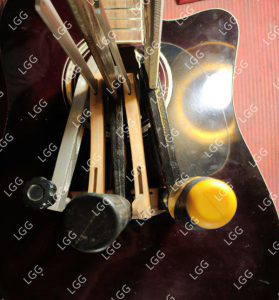
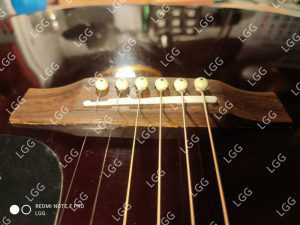
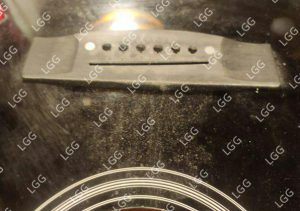
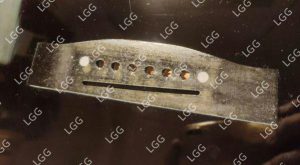
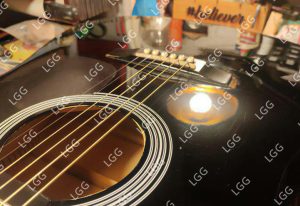
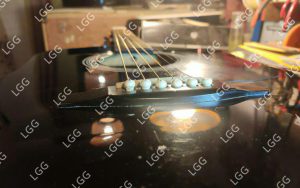
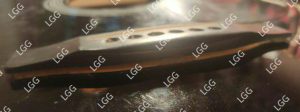
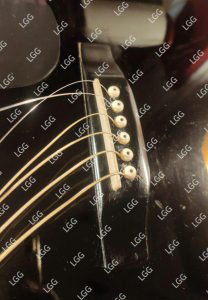
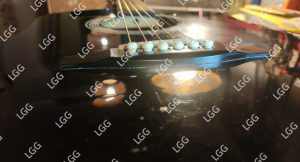
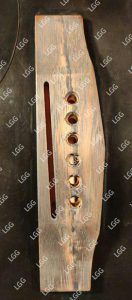
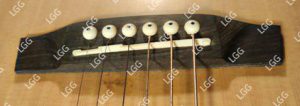
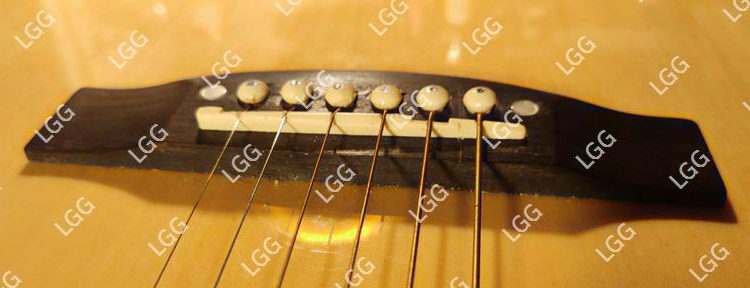
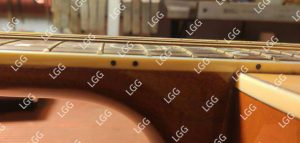
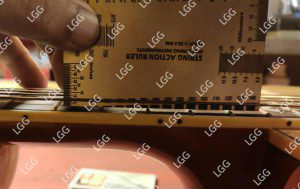
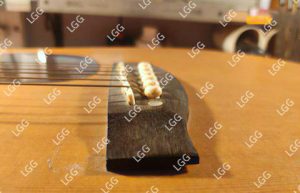
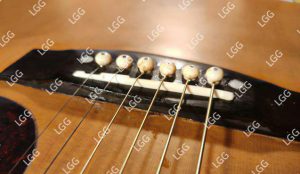
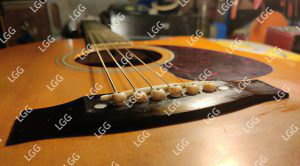
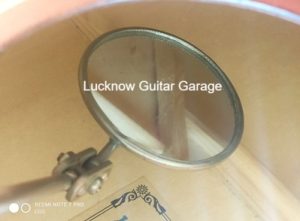
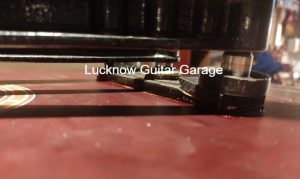
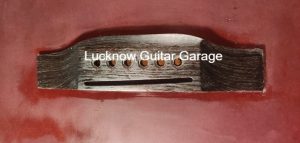
The bridge was lifting and the guitar had a handsome belly
There were loose braces
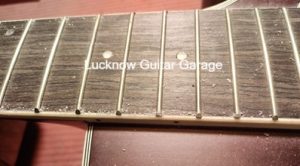
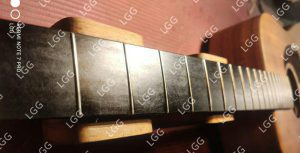
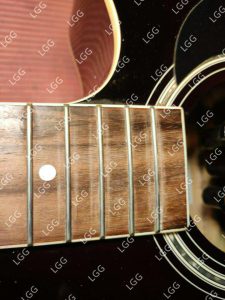
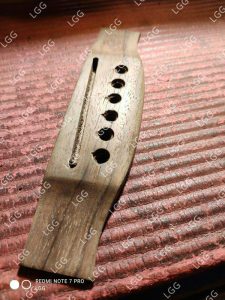
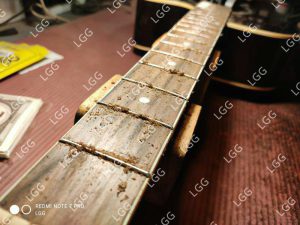
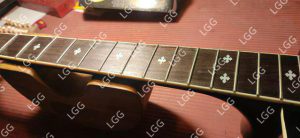
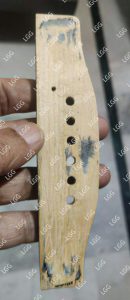
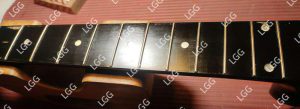
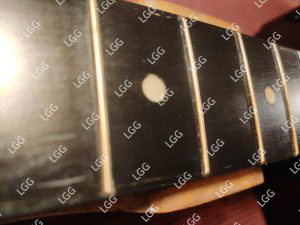
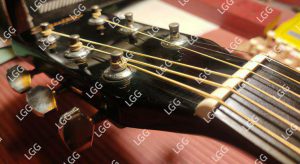
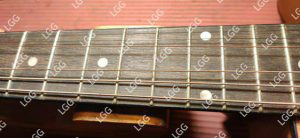
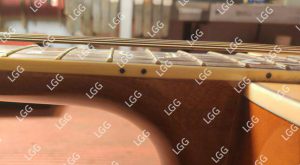
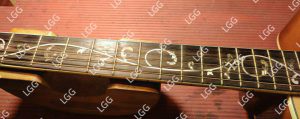
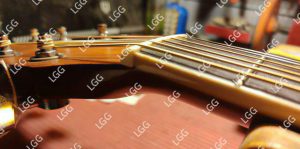
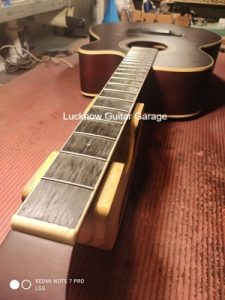
The fretboard had dried up so much that there was fretwire sprout all across it.
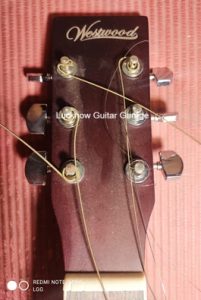
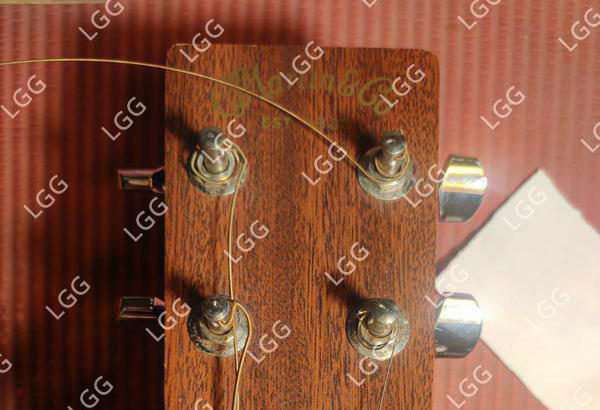
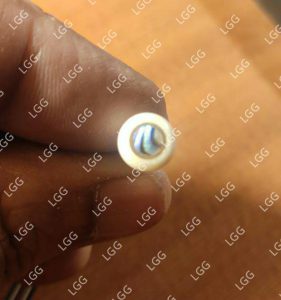
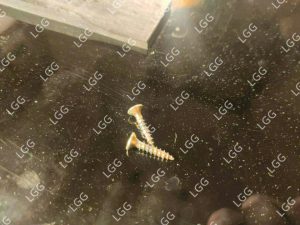
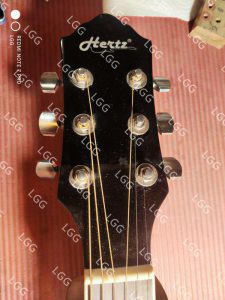
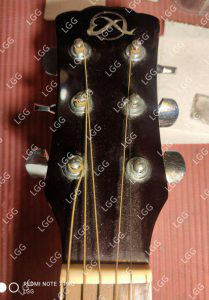
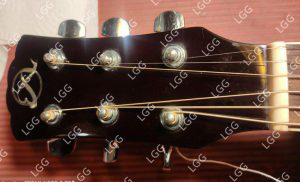
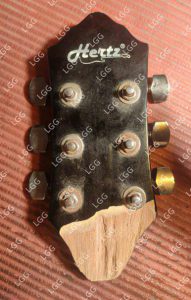
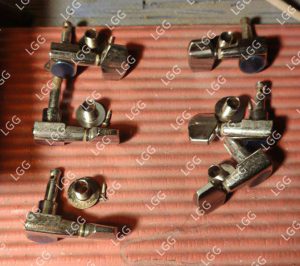
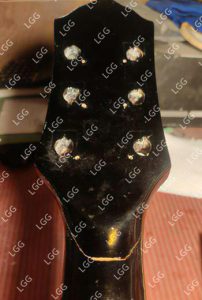
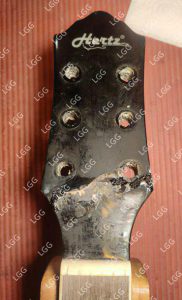
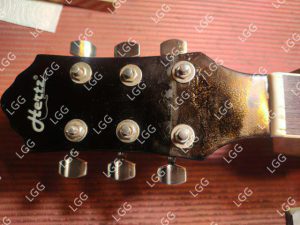
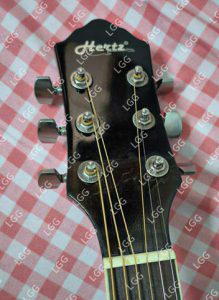
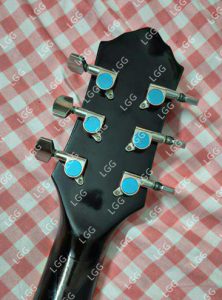
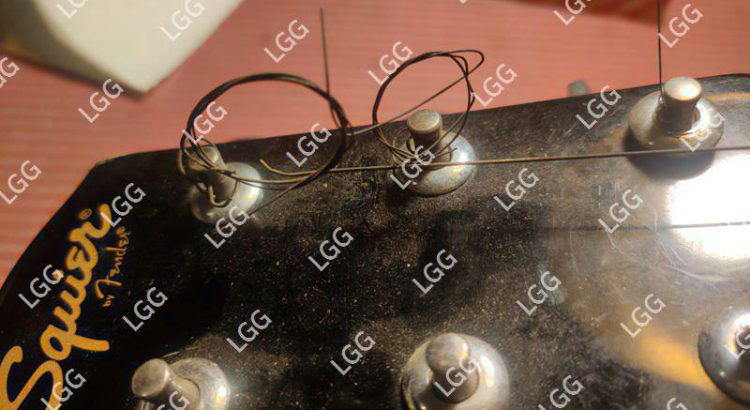
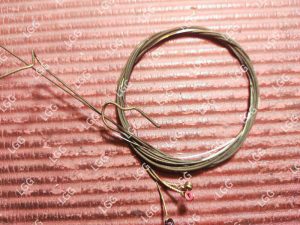
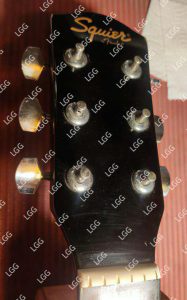
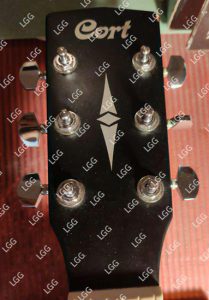
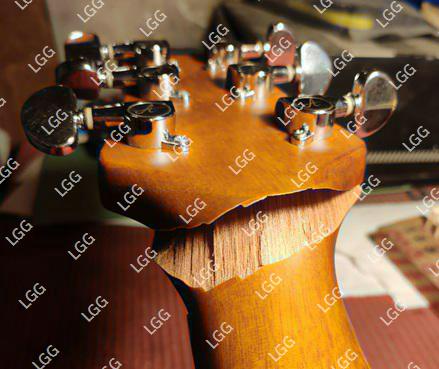
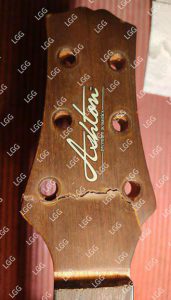
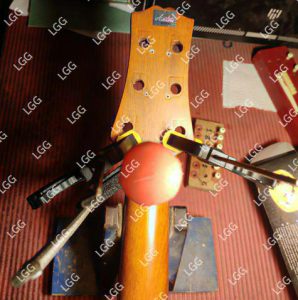
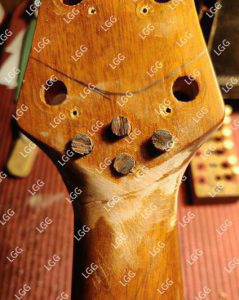
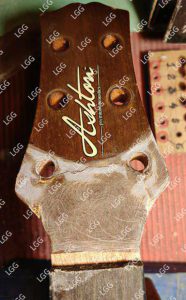
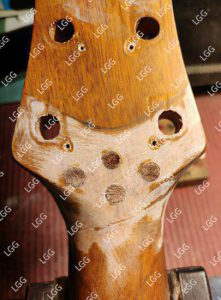
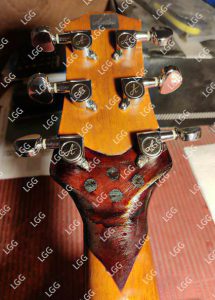
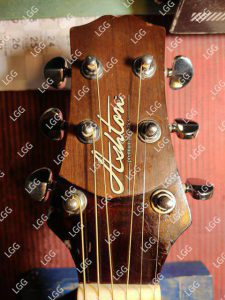
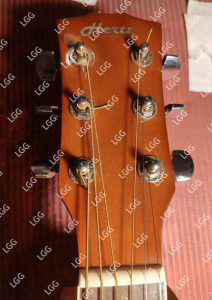
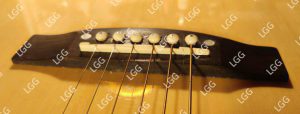
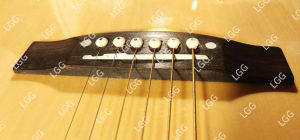
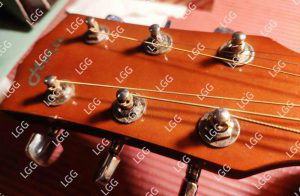
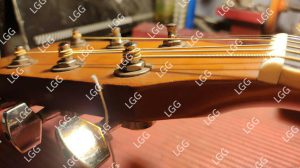
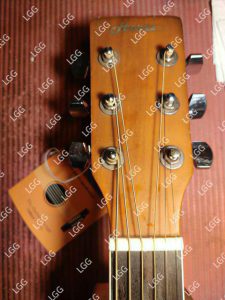
The hardware on the headstock was almost falling off, holding strings that should have been buried last century!
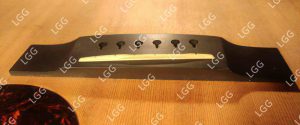
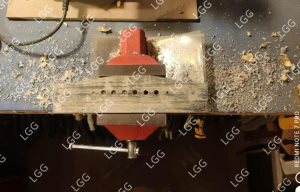
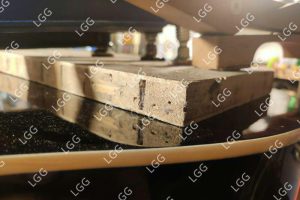
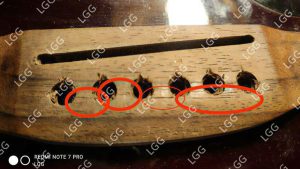
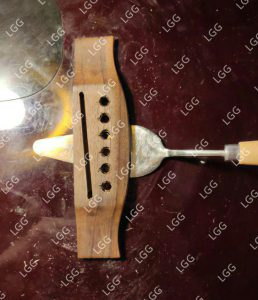
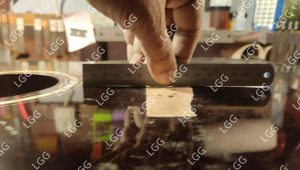
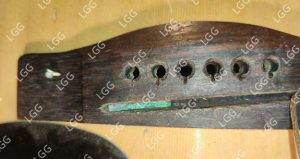
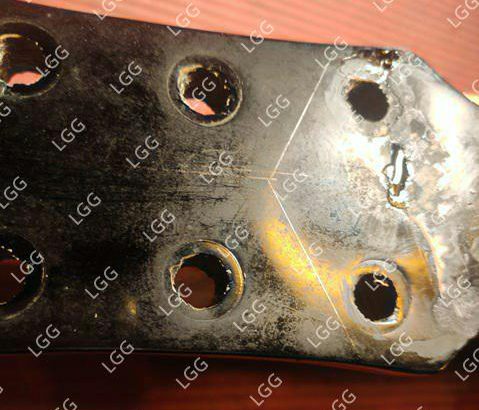
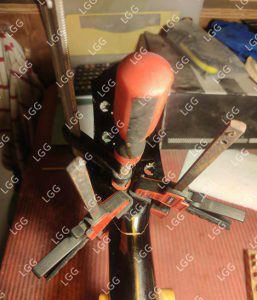
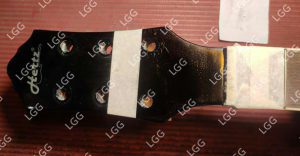
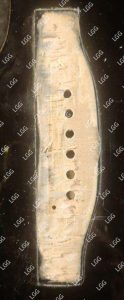
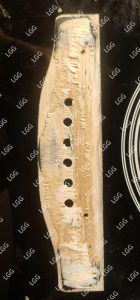
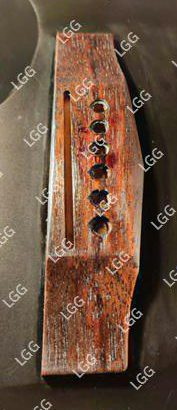
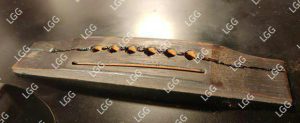
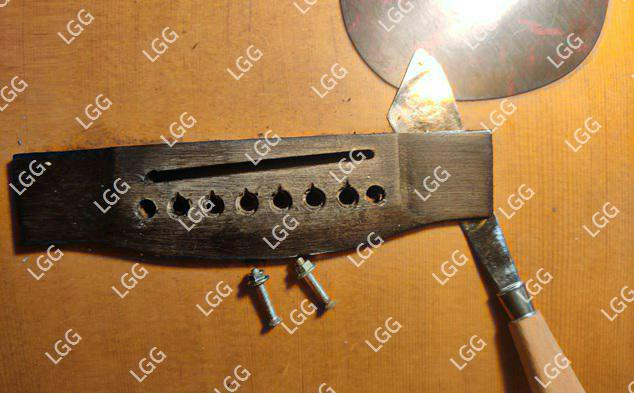
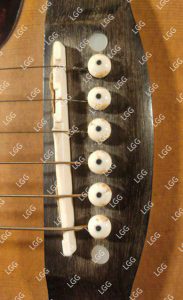
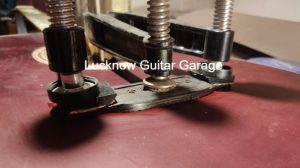
Work began with taking the bridge off. With the bridge off, the field was nice and open to level it
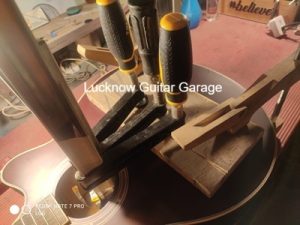
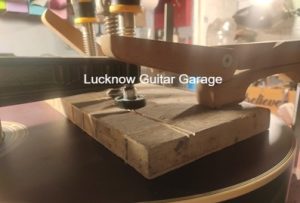
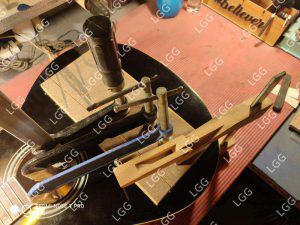
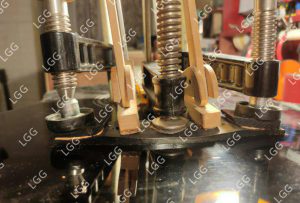
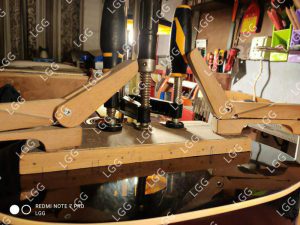
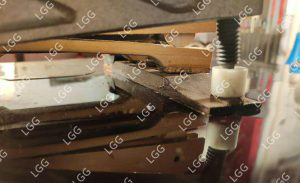
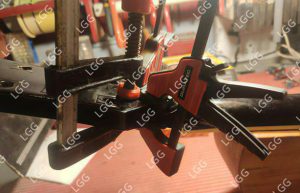
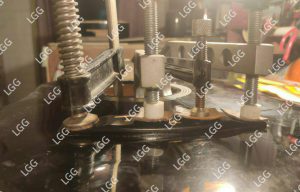
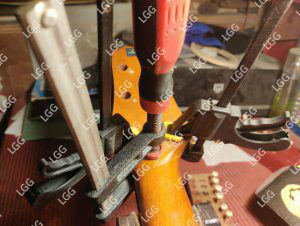
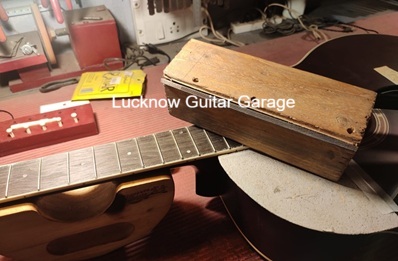
The instrument stayed like this, clamped, for two full days, before I let up on the pressure and removed the clamps. Then it was the turn of the braces, which had come loose in parts, to be reglued to the top.
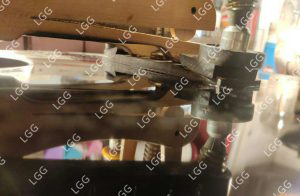
Unfortunately, these are the before photographs and not after the braces got glued. But I do have a few of the process.


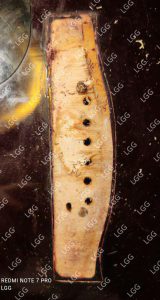
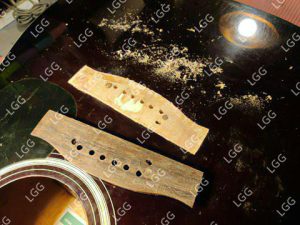
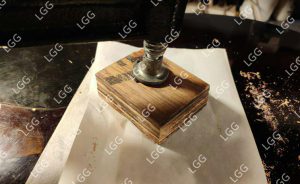
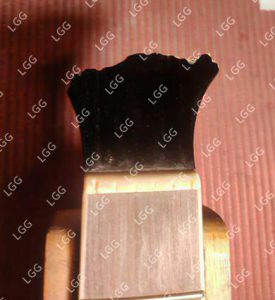
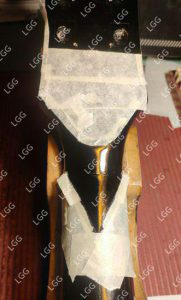
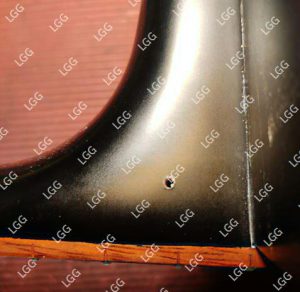
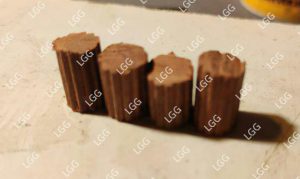
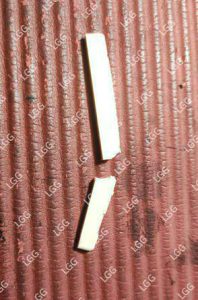
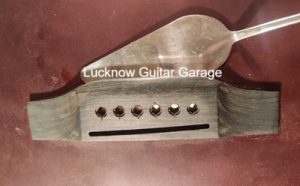
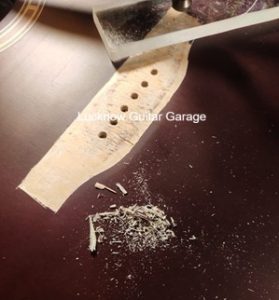
A piece of wood had chipped in the process of removing the bridge. It was duly glued back in place
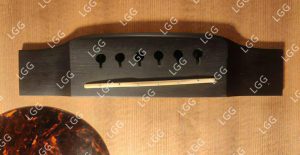
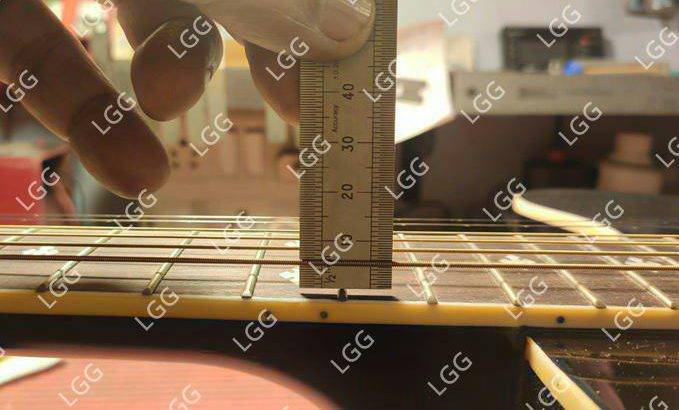
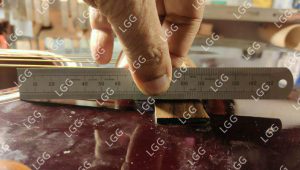
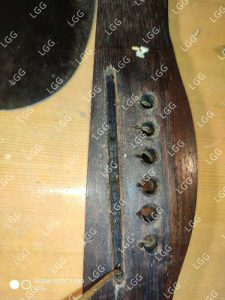
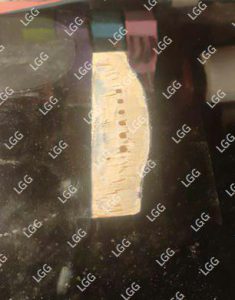
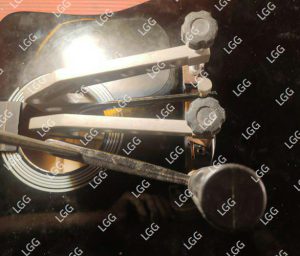
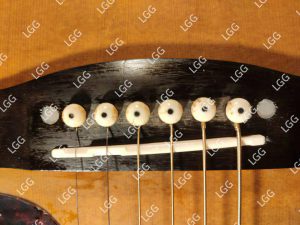
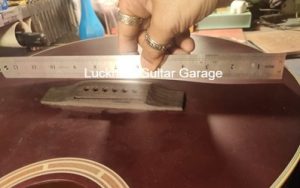
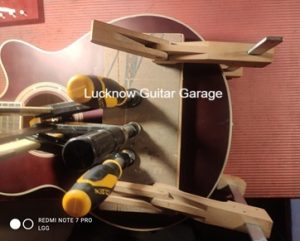
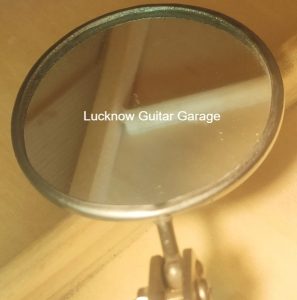
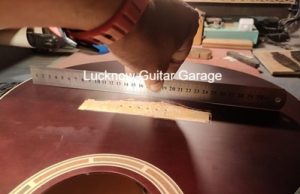
Here you can see the glue-up in progress as also the cleaning up of the bridge footprint. Once all that was finished, I decided to check on how much belly we had been able to remove from the top. A simple test was most encouraging.
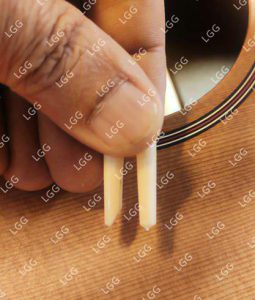
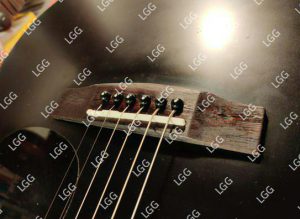
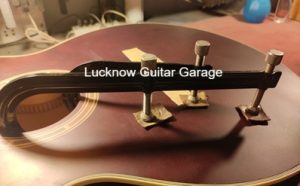
That done, the bridge was ready to be glued on.
Again a two-day wait period before the clamps were taken off.
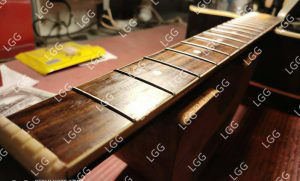
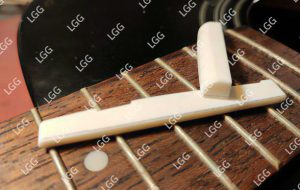
Meanwhile, I dealt with other issues. The fretwire sprout was dealt with and the fretboard was cleaned and oiled, as was the bridge
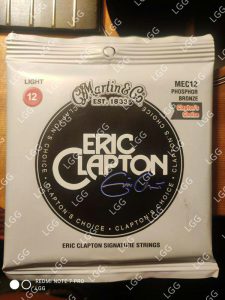
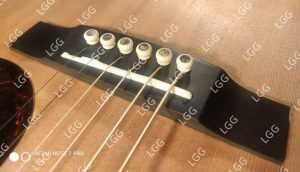
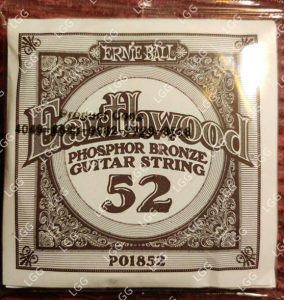
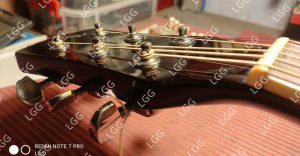
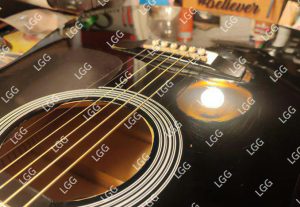
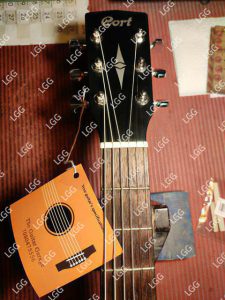
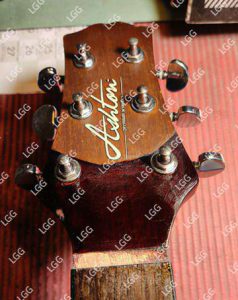
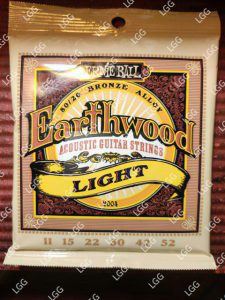
The hardware on the headstock was snugged up, and now the guitar was ready to receive new strings. The owner had provided me with these.
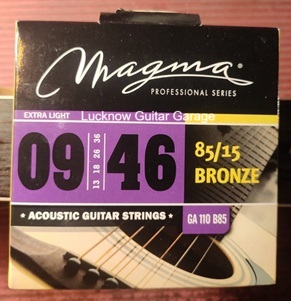
Personally, I would have liked bigger strings, but since the owner had these on him, I put these on.