I have said this before but I will say it again: there is nothing wrong with personalising your instrument, as long as you stay away from stickers of any size on the top of the guitar. Writing on the top (sound board) with a marker is absolutely fine, stickers on the sides of the guitar are absolutely fine, but trying to paint any part of your guitar? No, No!!
This guitar belongs to a young lady, who got it into her to paint her fretboard and bridge blue. After the deed was done, she reckoned that it wasn’t looking all that great, and decided to strip the paint with some nail-paint remover!
However, the guitar had come in to remedy a lifting bridge. It was only during my inspection that I noticed remnants of the blue all over. When I questioned the young lady, sheepishly, she admitted to having experimented with the colour.
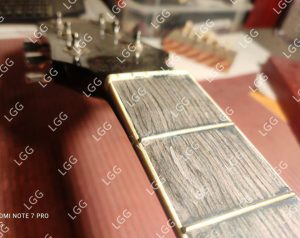
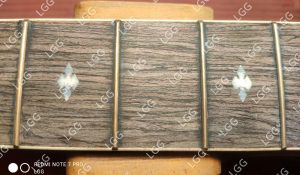
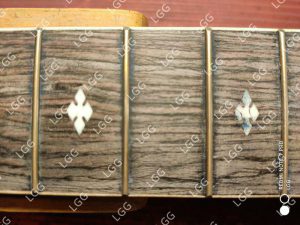
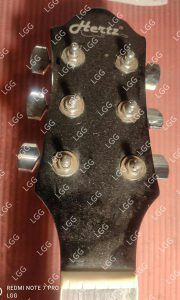
During the inspection it became amply clear that as dirty as the instrument was, it had been stood up in a corner, without any love.
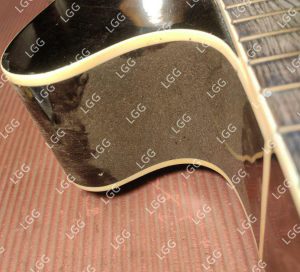
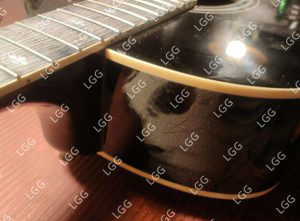
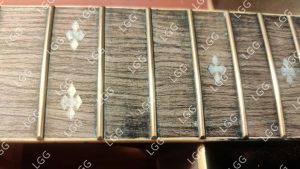
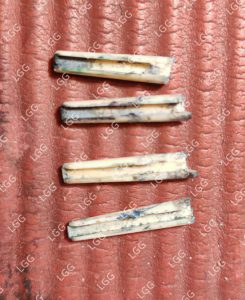
While the paint managed to drip into everything, the nail-paint remover ensured that it dried up the fretboard and turned the bridgepins brittle. The result was fretwire sprout (when the fretboard shrinks and the fretwires remain the same length).
You can see the effect of the cleaning in the second last photograph in the group of five photographs. While the left fret marker is clean and white, the one on the right is still ‘blue’!
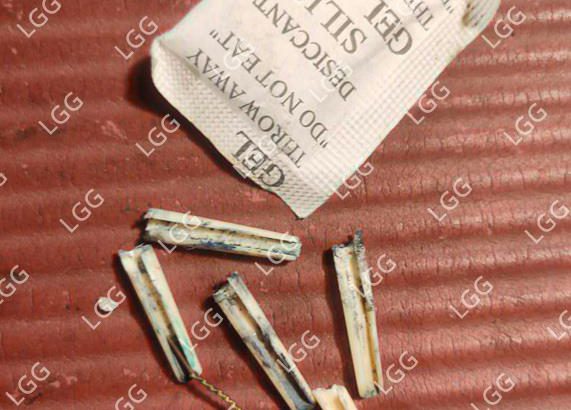
Meanwhile, the bridgepins turned so brittle that of the six pins, only two survived my effort to pull them out of the bridge!
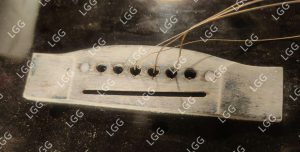
The bridge was lifting despite it being ‘affixed’ with nuts and bolts – and I daresay that much of the lifting could have been due to the action of the nail-paint remover drying out the wood of the bridge too. Can you see how pale and emaciated the wood looks?
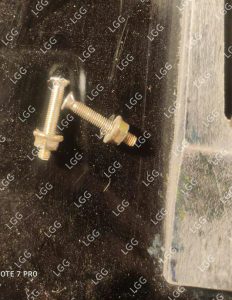
With the strings off, I stuck my hand inside the soundhole to retrieve the remnants of the bridgepins. Along with those, I also found this
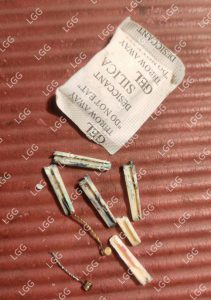
You might be familiar with that sachet, having seen it in new shoe boxes. It’s job is to suck up moisture and thus preventing fungus growing on new shoes. Shoe box or the guitar, Silica gel will not change its nature, and so it surely must have sucked up moisture from the guitar, leading to fretwire sprout, the bridge lifting and some bellying too. And then there was the nail-paint remover.
NOTE: Dear readers, stick your hand inside your guitar and try and see if you have a silica gel sachet living in there. If you do find it, pull it out and throw it. It will save your guitar!
Now with strings off, I pulled out the saddle, and there was another surprise waiting for me.
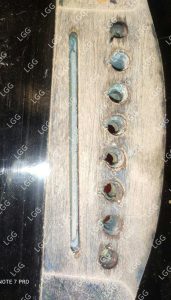
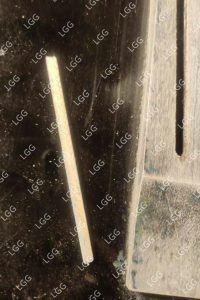
A slot-sleeper that invariably eats into the height of your saddle. I was sure that once the bridge was glued back properly, I would not need the shim to boost up the height.
With the strings and screws out of the way, I took the bridge off, which came off without too much resistance.
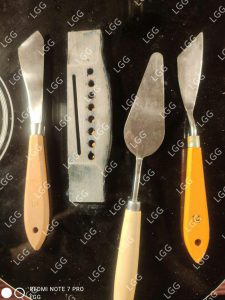
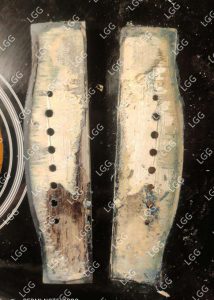
And then began the long and tedious process of cleaning the bridge underside and the footprint of the bridge on the top. But first do appreciate where the bridge actually sits and how much of the finish falls under its footprint, ensuring an unstable joint to start with.
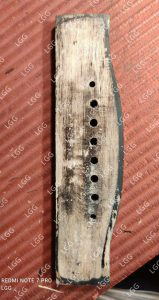
Also appreciate that the top had cracked under string tension. Below is a clear image of the footprint cleaned with a little chip which came off while taking the bridge off.
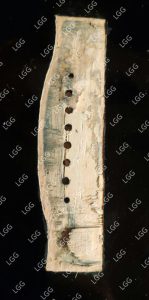
That chip was glued back, the crack in the top dealt with and then the entire footprint was sanded clean
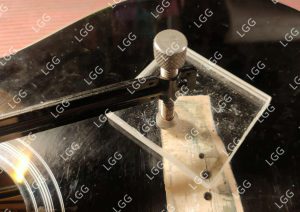
Dealing with the bridge was a whole separate job. In all probability, it had stayed lifted and under string tension for so long that it had curled. If not straightened, it would never stick well to the top.
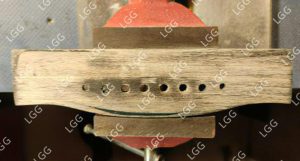
That is what it looked like after the first cleaning. The curl in the bridge that I was talking about is more evident here.
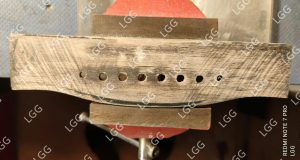
The marks on the wings are pencil marks which remained after being sanded. I continued to sand till all the marks disappeared and then marked it again with a pencil and sanded it again. The second sanding confirmed that the bridge had indeed become flat.
With both components ready to be glued back together, out came the clamps, glue was slathered onto both surfaces and the two components were clamped.
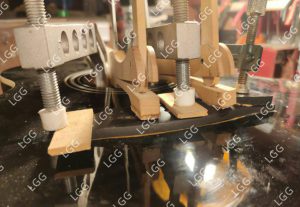
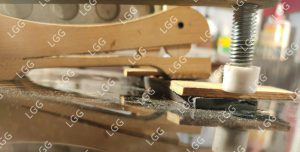
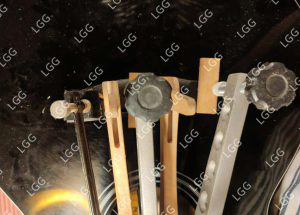
This set up was left undisturbed for two days, giving enough time for the glue to cure.
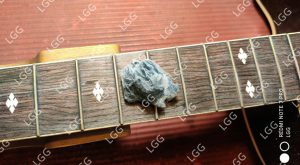
As that process got underway, I took on other tasks – the main among which was cleaning up the fretboard to rid it of the blue. Cotton wool dipped in acetone did the trick but do look at the state of the cotton wool.
Then, the fretwire sprout was tackled with a tool that I made some 18 years ago. While it has been a faithful ally all this while, it is hoped that it will continue to serve for many, many more years to come.
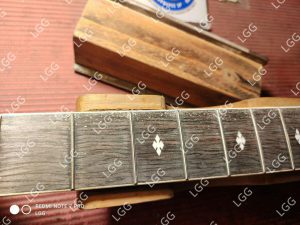
The fretboard was then oiled and contrary to the usual practice, I left the oil on the fretboard, never cleaning the excess. My reasoning was that since the fretboard was so dry, it could do with some nourishing moisturisation and hydration. Within minutes the oil was all soaked in, leaving only a healthy sheen on the fretboard.
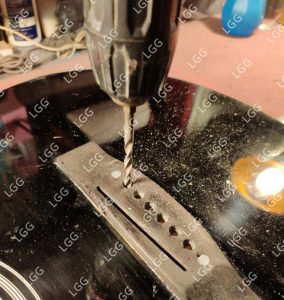
When the clamps came off, the plastic dots which hid the bolts, were put back in place (the nuts and bolts were never put back and their holes were plugged before the bridge reglue took place). The bridgepin holes were redrilled to receive a fresh set of strings.
I leave you with some parting shots of a repair that came out right, promising joy to its owner – hopefully for many, many years to come.
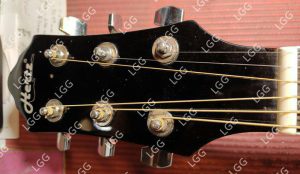
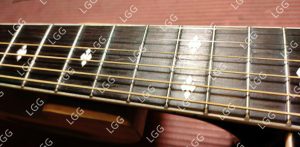
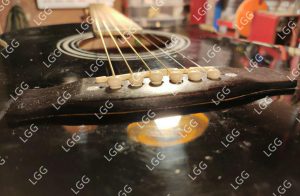
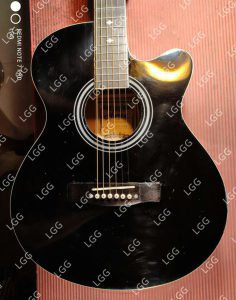
P.S.: I think I put in a bone saddle and a bone nut too in the guitar, but I don’t remember. I’ll wait for the owner to confirm before I append this post in due time.
